How to Can Potatoes with Tattler Lids: A Step-by-Step Guide
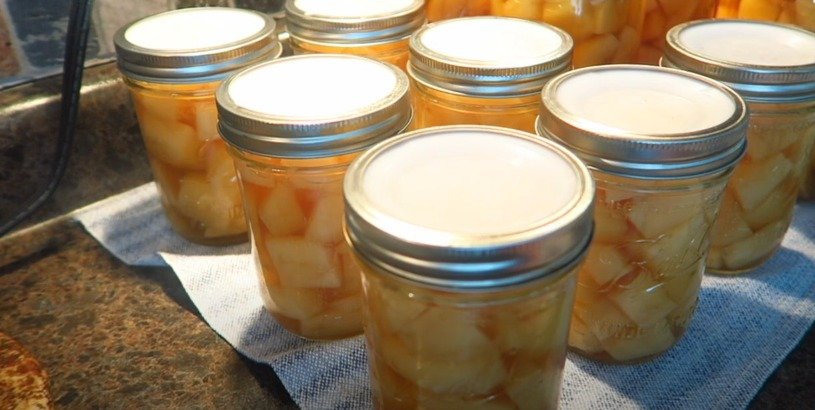
potatoes
1
Welcome back to the Needy Homesteader channel! Today, we're diving into the world of canning potatoes, and we'll be using Tattler lids. Many of you have expressed interest in reusable canning lids, so I'm excited to show you how to use them effectively.
What Are Tattler Lids?
For those unfamiliar, Tattler lids are reusable canning lids that can be used up to 10 times or 10 years with one seal. They come with rubber seals that need to be properly maintained for optimal use. Reusable lids like Tattler's can save money and reduce waste, making them a great option for avid canners.
2
Why Use Tattler Lids?
I've been using Tattler lids since 2016 and have had great success with them. However, I tend to reserve them for vegetables, barbecue sauces, and jams to avoid losing them when giving away jars. After discussing with my friend Angie from Angie's Pantry, I've decided to avoid using them for meat canning.
Preparing to Can Potatoes
Here's how to get started:
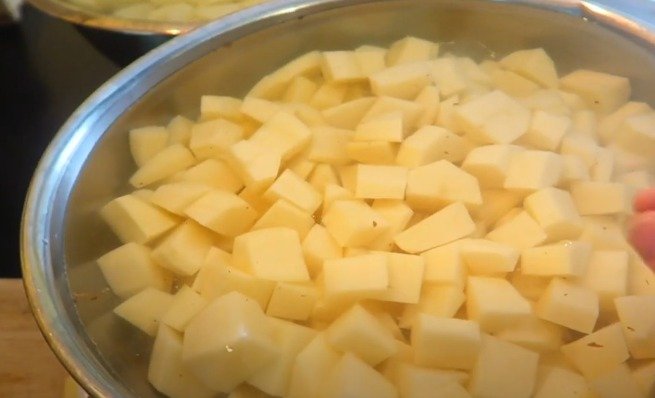
Soak the Potatoes: After peeling and cutting your potatoes into half-inch pieces, soak them in ice-cold water with canning salt. This prevents them from browning.
Blanch the Potatoes: Drain and rinse the potatoes, then blanch them in boiling water for two minutes. This step is crucial for preserving texture during the canning process.
Prepare the Jars: Clean your canning jars with hot, soapy water and keep them hot until ready to use. I prefer soaking them in hot, soapy water rather than using a dishwasher.
Using Tattler Lids
Here's a step-by-step guide to using Tattler lids:
Prepare the Lids: Place the rubber gaskets on the Tattler lids and cover them with boiling water to soften and sterilize the gaskets.
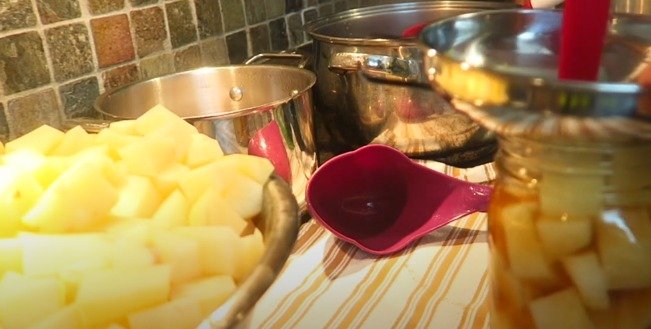
Load the Jars: Fill the jars with blanched potatoes, leaving one inch of headspace. Top with boiling water or a preferred broth (I like using diluted onion soup mix).
De-Bubble and Wipe the Rims: Remove air bubbles by sliding a spatula around the edges of the jar. Wipe the rims with vinegar to ensure a clean seal.
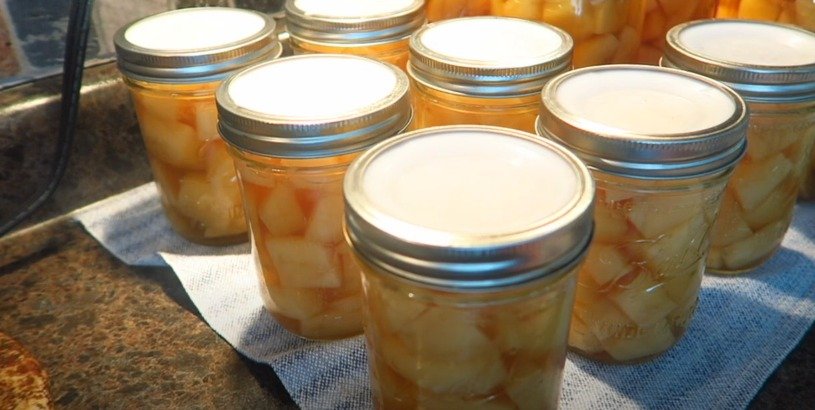
Apply the Lids: Place the Tattler lid and gasket on the jar, then screw on the metal band fingertip tight. This means tightening until you feel resistance and then stopping.
Canning Process
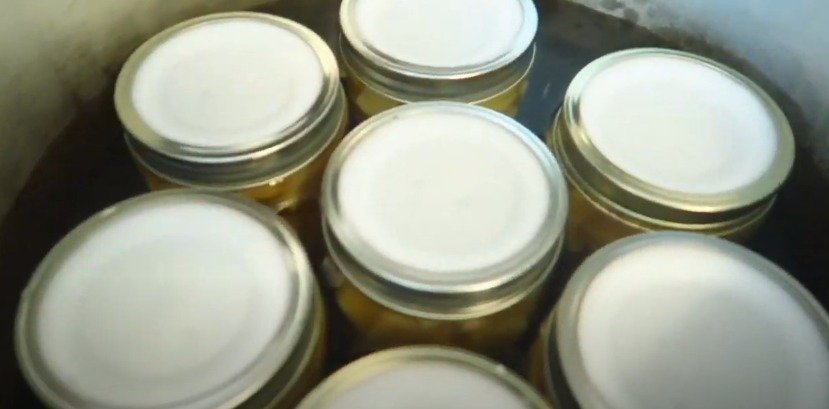
Load the Canner: Place the filled jars into your canner. I use an All-American 921 for this process. If needed, you can run two canners simultaneously.
3
Process the Jars: Process pint jars for 35 minutes and quart jars for 40 minutes at the appropriate pressure for your altitude.
Cool and Tighten: Once the canning process is complete, remove the canner from heat and let it depressurize naturally. After removing the jars, tighten the bands further to ensure a proper seal.
Storing and Checking Seals
Cool Completely: Let the jars cool completely before checking seals. With Tattler lids, you won't hear a pop like with traditional lids. Instead, check the seal by lifting the jar by the lid.
Label and Store: Label your jars with the contents and date. I recommend using dry erase markers on the lids or labeling the jars themselves.
Benefits of Reusable Lids
Reusable lids like Tattler and Harvest Guard (another brand of reusable lids) offer a sustainable option for canning enthusiasts. They are durable, cost-effective over time, and reduce dependency on single-use lids, which can be subject to shortages.
4
Final Thoughts
Canning potatoes with Tattler lids might seem intimidating at first, but with proper preparation and technique, it's straightforward. These lids are a fantastic addition to any canner's toolkit, providing reliability and sustainability.
Happy canning, and stay safe!
For more tips and canning inspiration, don't forget to check out my friend Angie's Pantry and Bev at Our Half Acre Homestead. They are fantastic resources for all things canning!
Ingredients
potatoes
Directions
1
Welcome back to the Needy Homesteader channel! Today, we're diving into the world of canning potatoes, and we'll be using Tattler lids. Many of you have expressed interest in reusable canning lids, so I'm excited to show you how to use them effectively.
What Are Tattler Lids?
For those unfamiliar, Tattler lids are reusable canning lids that can be used up to 10 times or 10 years with one seal. They come with rubber seals that need to be properly maintained for optimal use. Reusable lids like Tattler's can save money and reduce waste, making them a great option for avid canners.

2
Why Use Tattler Lids?
I've been using Tattler lids since 2016 and have had great success with them. However, I tend to reserve them for vegetables, barbecue sauces, and jams to avoid losing them when giving away jars. After discussing with my friend Angie from Angie's Pantry, I've decided to avoid using them for meat canning.
Preparing to Can Potatoes
Here's how to get started:
Soak the Potatoes: After peeling and cutting your potatoes into half-inch pieces, soak them in ice-cold water with canning salt. This prevents them from browning.
Blanch the Potatoes: Drain and rinse the potatoes, then blanch them in boiling water for two minutes. This step is crucial for preserving texture during the canning process.
Prepare the Jars: Clean your canning jars with hot, soapy water and keep them hot until ready to use. I prefer soaking them in hot, soapy water rather than using a dishwasher.
Using Tattler Lids
Here's a step-by-step guide to using Tattler lids:
Prepare the Lids: Place the rubber gaskets on the Tattler lids and cover them with boiling water to soften and sterilize the gaskets.
Load the Jars: Fill the jars with blanched potatoes, leaving one inch of headspace. Top with boiling water or a preferred broth (I like using diluted onion soup mix).
De-Bubble and Wipe the Rims: Remove air bubbles by sliding a spatula around the edges of the jar. Wipe the rims with vinegar to ensure a clean seal.
Apply the Lids: Place the Tattler lid and gasket on the jar, then screw on the metal band fingertip tight. This means tightening until you feel resistance and then stopping.
Canning Process
Load the Canner: Place the filled jars into your canner. I use an All-American 921 for this process. If needed, you can run two canners simultaneously.

3
Process the Jars: Process pint jars for 35 minutes and quart jars for 40 minutes at the appropriate pressure for your altitude.
Cool and Tighten: Once the canning process is complete, remove the canner from heat and let it depressurize naturally. After removing the jars, tighten the bands further to ensure a proper seal.
Storing and Checking Seals
Cool Completely: Let the jars cool completely before checking seals. With Tattler lids, you won't hear a pop like with traditional lids. Instead, check the seal by lifting the jar by the lid.
Label and Store: Label your jars with the contents and date. I recommend using dry erase markers on the lids or labeling the jars themselves.
Benefits of Reusable Lids
Reusable lids like Tattler and Harvest Guard (another brand of reusable lids) offer a sustainable option for canning enthusiasts. They are durable, cost-effective over time, and reduce dependency on single-use lids, which can be subject to shortages.

4
Final Thoughts
Canning potatoes with Tattler lids might seem intimidating at first, but with proper preparation and technique, it's straightforward. These lids are a fantastic addition to any canner's toolkit, providing reliability and sustainability.
Happy canning, and stay safe!
For more tips and canning inspiration, don't forget to check out my friend Angie's Pantry and Bev at Our Half Acre Homestead. They are fantastic resources for all things canning!

Leave a Review
Please log in or register for a new account in order to leave a review.


