Homemade Fig Preserves Recipe

12 cups of fresh whole figs
6 cups of sugar
3 cups of water
1
Introduction:
This homemade fig preserves recipe has been passed down through my family for generations. It's simple, yet delicious, made with just three ingredients: figs, sugar, and water. If you’re looking for a traditional way to preserve figs, this recipe is for you. With a slow simmer to bring out the natural sweetness of the figs and a straightforward canning process, these preserves will add a touch of homemade charm to your pantry. Let's dive into making fig preserves, just like my family has done for years!
Ingredients:
12 cups of fresh whole figs
6 cups of sugar
3 cups of water
Instructions:
Prepare the Figs:
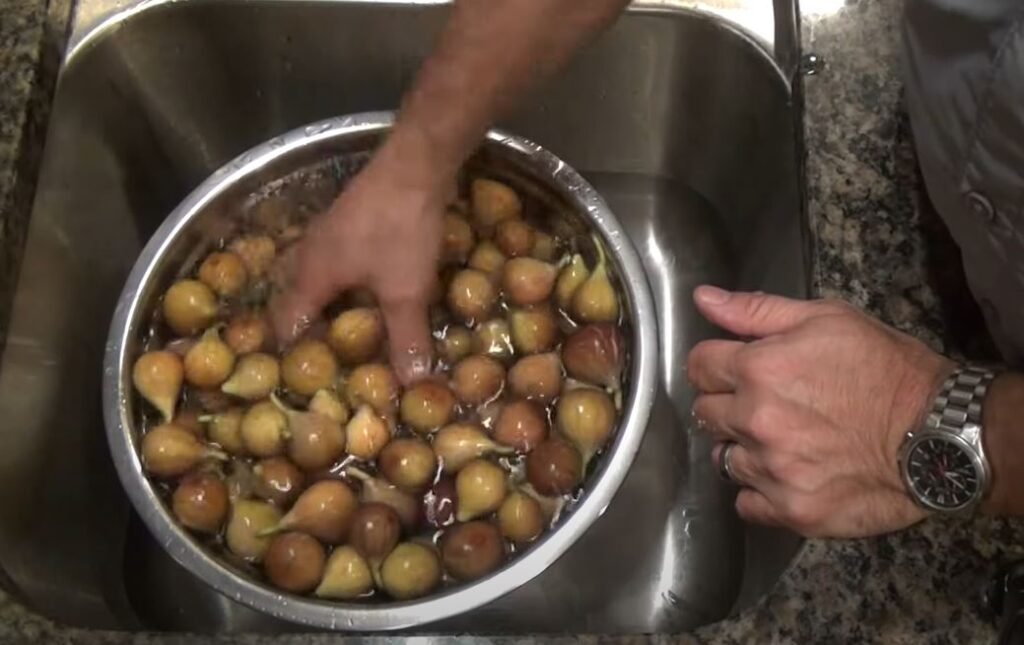
Go through your figs, removing any rotten or overly green ones. Wash the figs thoroughly.
Cut off the stems, but leave the figs whole. This allows the figs to cook down beautifully during the process.
2
Cook the Fig Preserves:
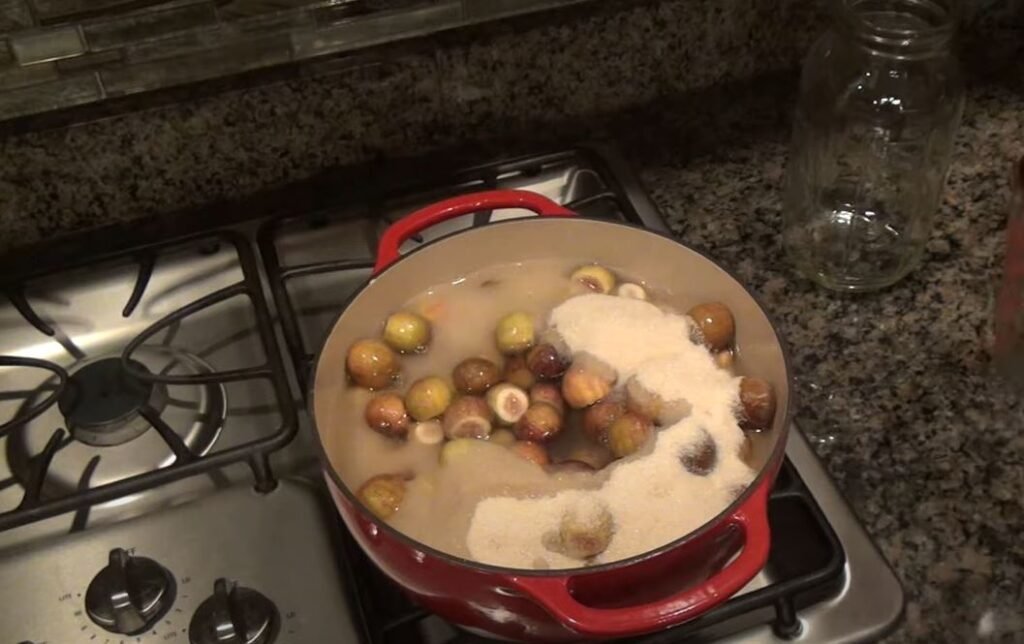
In a large pot, combine the figs, sugar, and water. The ratio is simple: for every 12 cups of figs, use 6 cups of sugar and 3 cups of water.
Place the pot on medium heat. Stir to dissolve the sugar in the water and coat the figs evenly.
3
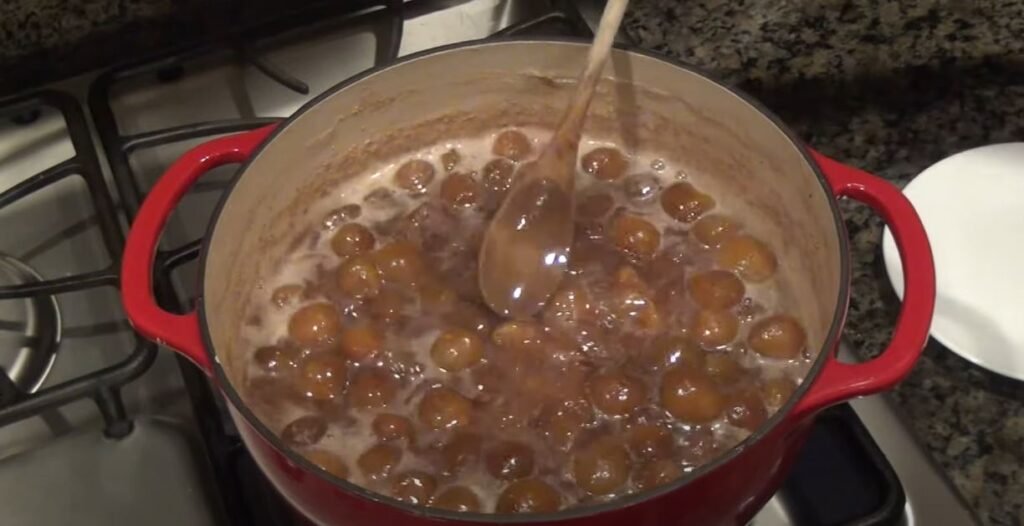
Let the mixture simmer gently for about 2 hours, stirring occasionally. Be patient—slow cooking helps preserve the figs’ shape and texture.
After 30 minutes, the figs will begin to change color and reduce in size. Continue simmering, ensuring the liquid doesn’t evaporate too quickly.
After about 2 hours, the preserves should be thickened, and the figs should have cooked down nicely. Test the thickness of the syrup by placing a small amount on a plate and allowing it to cool. If the syrup is thick and not runny, your preserves are ready.
4
Prepare for Canning:
Preheat your oven to 250°F (120°C) and place clean canning jars inside to sterilize them. Expect about four pint-sized jars from this batch, so prepare one extra jar just in case.
Warm your canning lids on the stove in a small pot of water to soften the seal.
Can the Fig Preserves:
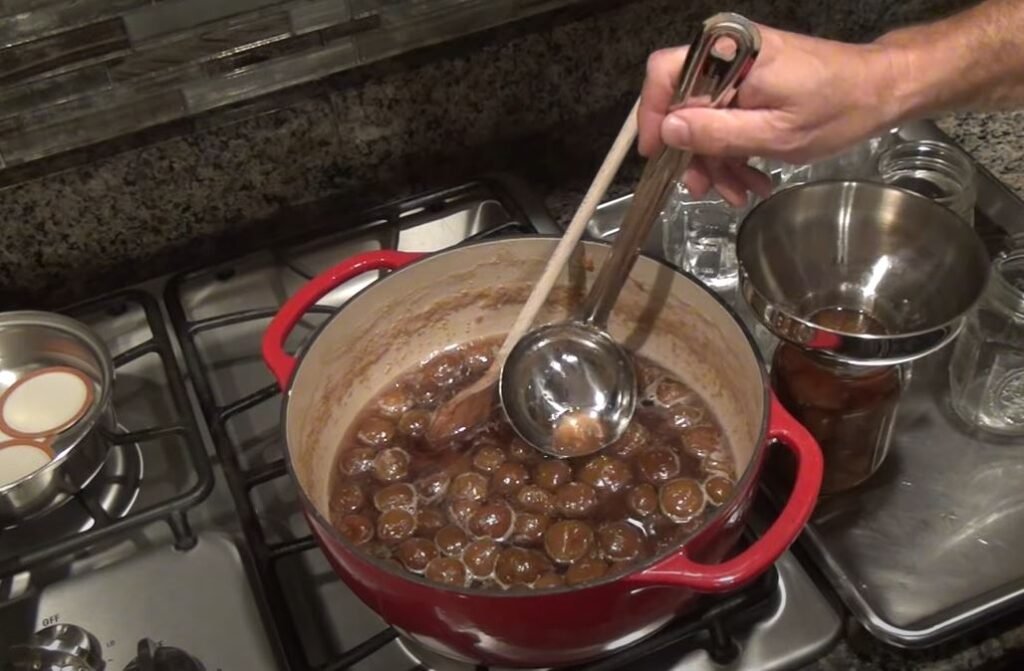
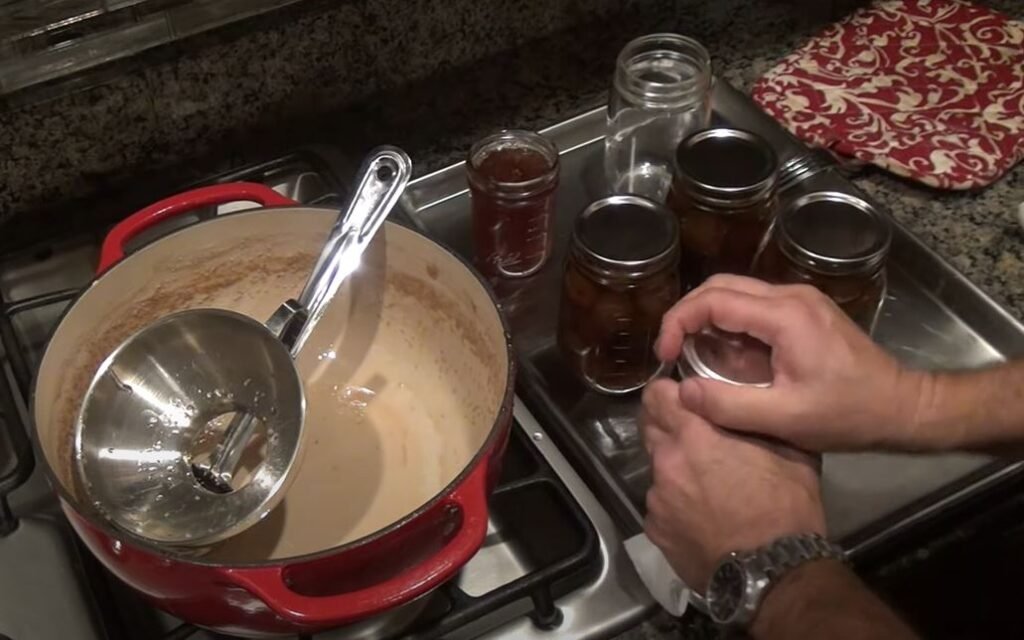
Once the preserves are ready, carefully remove the jars from the oven. Begin filling each jar with the figs, leaving some space at the top. Finish each jar by topping it off with the thickened syrup.
Clean the rim of each jar with a damp paper towel to ensure a proper seal.
Place the warmed lids on top of the jars and secure them with canning rings. Tighten them, but not too tightly.
5
Seal the Jars:
To ensure a good seal and prevent mold spores, turn each jar upside down for 5 minutes. Afterward, turn them right side up and allow them to cool.
You should hear the jars "pop" as they seal, which indicates they are properly sealed. Let them cool completely before storing them in the pantry.
6
Enjoy and Store:
Your fig preserves are now ready to enjoy! They can be stored in the pantry for months. These preserves are perfect on biscuits, toast, or even as a sweet addition to savory dishes.
Conclusion: Making homemade fig preserves is a rewarding process that connects you to generations of tradition. With just figs, sugar, and water, you can create a delicious treat that will last for months. Whether you’re spreading it on toast or using it in recipes, these fig preserves bring a touch of homemade goodness to your kitchen. We hope this recipe gives you useful knowledge on the process of canning fig preserves, just like my family has done for years. Happy preserving!
Created by : Useful Knowledge

Ingredients
12 cups of fresh whole figs
6 cups of sugar
3 cups of water
Directions
1
Introduction:
This homemade fig preserves recipe has been passed down through my family for generations. It's simple, yet delicious, made with just three ingredients: figs, sugar, and water. If you’re looking for a traditional way to preserve figs, this recipe is for you. With a slow simmer to bring out the natural sweetness of the figs and a straightforward canning process, these preserves will add a touch of homemade charm to your pantry. Let's dive into making fig preserves, just like my family has done for years!
Ingredients:
12 cups of fresh whole figs
6 cups of sugar
3 cups of water
Instructions:
Prepare the Figs:
Go through your figs, removing any rotten or overly green ones. Wash the figs thoroughly.
Cut off the stems, but leave the figs whole. This allows the figs to cook down beautifully during the process.

2
Cook the Fig Preserves:
In a large pot, combine the figs, sugar, and water. The ratio is simple: for every 12 cups of figs, use 6 cups of sugar and 3 cups of water.
Place the pot on medium heat. Stir to dissolve the sugar in the water and coat the figs evenly.

3
Let the mixture simmer gently for about 2 hours, stirring occasionally. Be patient—slow cooking helps preserve the figs’ shape and texture.
After 30 minutes, the figs will begin to change color and reduce in size. Continue simmering, ensuring the liquid doesn’t evaporate too quickly.
After about 2 hours, the preserves should be thickened, and the figs should have cooked down nicely. Test the thickness of the syrup by placing a small amount on a plate and allowing it to cool. If the syrup is thick and not runny, your preserves are ready.

4
Prepare for Canning:
Preheat your oven to 250°F (120°C) and place clean canning jars inside to sterilize them. Expect about four pint-sized jars from this batch, so prepare one extra jar just in case.
Warm your canning lids on the stove in a small pot of water to soften the seal.
Can the Fig Preserves:
Once the preserves are ready, carefully remove the jars from the oven. Begin filling each jar with the figs, leaving some space at the top. Finish each jar by topping it off with the thickened syrup.
Clean the rim of each jar with a damp paper towel to ensure a proper seal.
Place the warmed lids on top of the jars and secure them with canning rings. Tighten them, but not too tightly.

5
Seal the Jars:
To ensure a good seal and prevent mold spores, turn each jar upside down for 5 minutes. Afterward, turn them right side up and allow them to cool.
You should hear the jars "pop" as they seal, which indicates they are properly sealed. Let them cool completely before storing them in the pantry.

6
Enjoy and Store:
Your fig preserves are now ready to enjoy! They can be stored in the pantry for months. These preserves are perfect on biscuits, toast, or even as a sweet addition to savory dishes.
Conclusion: Making homemade fig preserves is a rewarding process that connects you to generations of tradition. With just figs, sugar, and water, you can create a delicious treat that will last for months. Whether you’re spreading it on toast or using it in recipes, these fig preserves bring a touch of homemade goodness to your kitchen. We hope this recipe gives you useful knowledge on the process of canning fig preserves, just like my family has done for years. Happy preserving!
Created by : Useful Knowledge

Leave a Review
Please log in or register for a new account in order to leave a review.


