How to Make Plum Sauce from Scratch: A Step-by-Step Guide
1
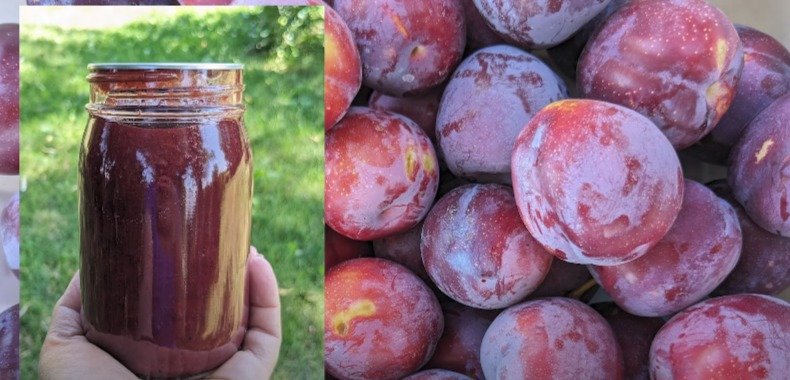
Hello homesteaders, gardeners, and cooks! Welcome to Miles Away Farm. I'm Jennifer, and today, I'm excited to show you how to break down plums and turn them into delicious plum sauce. Whether you're dealing with European or Japanese plums, this guide will help you transform your harvest into a versatile and tasty preserve.

2
Types of Plums
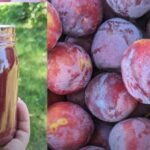
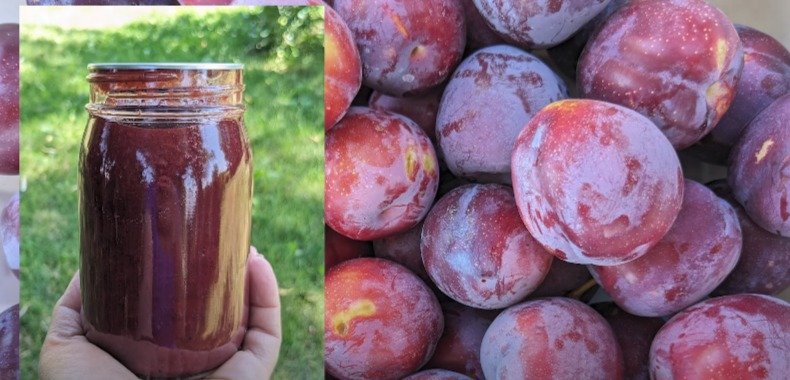
Plums come in two main varieties: European and Japanese. Japanese plums, which are larger and have a cling stone, are my preferred choice for eating due to their flavor. However, processing them can be a bit tricky since the seed clings tightly to the flesh. The best way to handle these plums is by boiling them down and using a food mill to remove the skins and seeds.
.
3
Preparing Your Plums
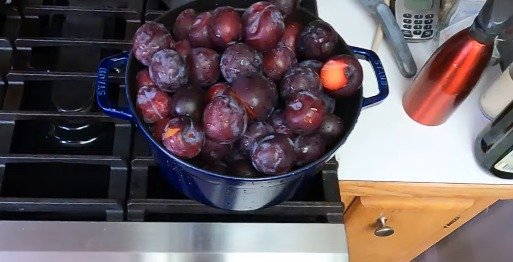
Washing and Sorting: Start by giving your plums a good bath. Sort through them, removing any stems and discarding any rotten or overly soft spots.
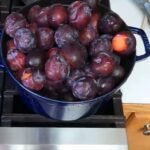
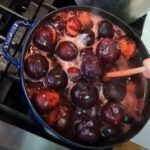
Initial Boil: Place your sorted plums in a large pot with about a cup of water to prevent burning. Bring the mixture to a simmer and cook for about half an hour, stirring occasionally to prevent sticking.
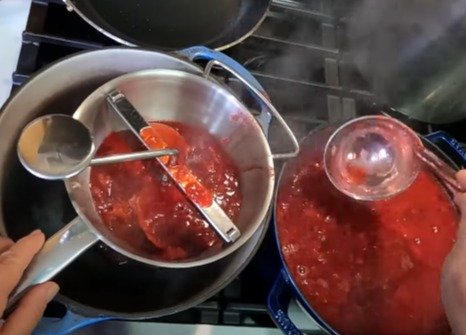
Mashing and Milling: Once the plums have softened, use a potato masher to break them down further. Then, run the mixture through a food mill to remove the skins and seeds. You can use the largest screen on your food mill to allow some skin through, which adds tartness to the sauce.
Cooking the Plum Sauce
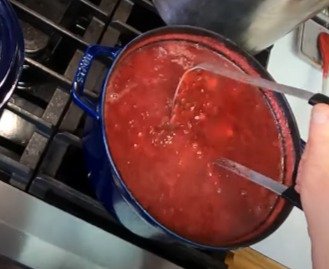
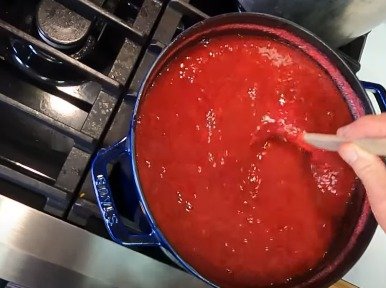
Simmering: Return the strained plum pulp to the pot and simmer on low heat for about 30 minutes. Be sure to stir frequently to prevent scorching.

4
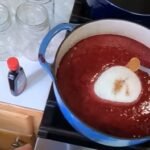
Adding Sugar and Spices: Start by adding a cup of sugar to the simmering pulp. My secret spice blend includes:
1 teaspoon of cinnamon
1 teaspoon of cardamom
1/2 teaspoon of allspice
1/2 teaspoon of black pepper (which adds a surprising fruity note)
Adjust the sugar and spice levels to your taste. Plums are quite acidic, so the exact amount of sugar can vary
5
Flavor Enhancements: For an extra burst of flavor, add a little orange extract. The combination of orange and plum is delightful.
6
Canning the Plum Sauce
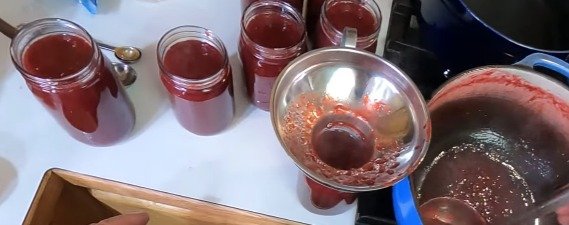
Jars and Lids: Fill sterilized pint jars with the hot plum sauce, leaving about a half-inch headspace. Wipe the rims clean and seal with lids and bands.
7
Processing: Process the jars in a hot water bath for 20 minutes. Make sure the water is at a full boil before starting your timer. Once done, let the jars cool completely before moving them.

8
Using Your Plum Sauce
This plum sauce is versatile and can be used in various ways:
9
As a topping for baked oatmeal, waffles, or pancakes.
In cocktails by mixing with equal parts vodka.
As a starting point for making jams or other plum-based recipes.

10
Conclusion
Making plum sauce is a fantastic way to preserve the summer harvest and enjoy the taste of fresh plums all year long. If you enjoyed this guide, please give me a thumbs up, subscribe to my channel, leave a comment, and share with your friends. I release new content every week, and I’d love for you to join me on this journey of homesteading and cooking.
happy canning!
Ingredients
Directions
1
Hello homesteaders, gardeners, and cooks! Welcome to Miles Away Farm. I'm Jennifer, and today, I'm excited to show you how to break down plums and turn them into delicious plum sauce. Whether you're dealing with European or Japanese plums, this guide will help you transform your harvest into a versatile and tasty preserve.

2
Types of Plums
Plums come in two main varieties: European and Japanese. Japanese plums, which are larger and have a cling stone, are my preferred choice for eating due to their flavor. However, processing them can be a bit tricky since the seed clings tightly to the flesh. The best way to handle these plums is by boiling them down and using a food mill to remove the skins and seeds.
.

3
Preparing Your Plums
Washing and Sorting: Start by giving your plums a good bath. Sort through them, removing any stems and discarding any rotten or overly soft spots.
Initial Boil: Place your sorted plums in a large pot with about a cup of water to prevent burning. Bring the mixture to a simmer and cook for about half an hour, stirring occasionally to prevent sticking.
Mashing and Milling: Once the plums have softened, use a potato masher to break them down further. Then, run the mixture through a food mill to remove the skins and seeds. You can use the largest screen on your food mill to allow some skin through, which adds tartness to the sauce.
Cooking the Plum Sauce
Simmering: Return the strained plum pulp to the pot and simmer on low heat for about 30 minutes. Be sure to stir frequently to prevent scorching.

4
Adding Sugar and Spices: Start by adding a cup of sugar to the simmering pulp. My secret spice blend includes:
1 teaspoon of cinnamon
1 teaspoon of cardamom
1/2 teaspoon of allspice
1/2 teaspoon of black pepper (which adds a surprising fruity note)
Adjust the sugar and spice levels to your taste. Plums are quite acidic, so the exact amount of sugar can vary

5
Flavor Enhancements: For an extra burst of flavor, add a little orange extract. The combination of orange and plum is delightful.

6
Canning the Plum Sauce
Jars and Lids: Fill sterilized pint jars with the hot plum sauce, leaving about a half-inch headspace. Wipe the rims clean and seal with lids and bands.

7
Processing: Process the jars in a hot water bath for 20 minutes. Make sure the water is at a full boil before starting your timer. Once done, let the jars cool completely before moving them.

8
Using Your Plum Sauce
This plum sauce is versatile and can be used in various ways:

9
As a topping for baked oatmeal, waffles, or pancakes.
In cocktails by mixing with equal parts vodka.
As a starting point for making jams or other plum-based recipes.

10
Conclusion
Making plum sauce is a fantastic way to preserve the summer harvest and enjoy the taste of fresh plums all year long. If you enjoyed this guide, please give me a thumbs up, subscribe to my channel, leave a comment, and share with your friends. I release new content every week, and I’d love for you to join me on this journey of homesteading and cooking.
happy canning!

Leave a Review
Please log in or register for a new account in order to leave a review.

