How to Make Perfectly Crunchy Homemade Dill Pickles

cucumbers
1
Hello, pickle enthusiasts! Lucy here from Virginia Grace Living. Today, we're diving into the wonderful world of homemade dill pickles. Recently, many of you requested a pickle tutorial, so I'm excited to share my tried-and-true method for achieving that perfect crunch. As a bonus, we'll also cover pickling okra—because who doesn't love some variety?
2
Preparing Your Pickles
First, let's get started by washing our cucumbers. It's important to clean them thoroughly before we begin the slicing process.
Cutting and Trimming
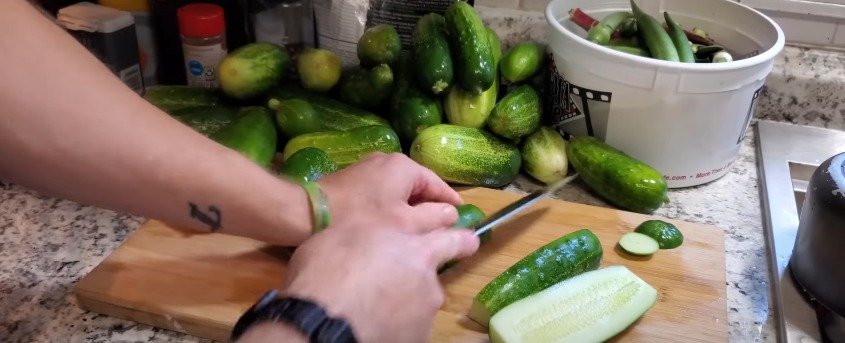
When making pickle spears, one crucial step for ensuring crispness is to cut off the blossom end of the cucumber. This end contains an enzyme that can cause pickles to soften over time. I usually cut a bit off both ends to be safe. For spears, I typically halve the cucumber and then quarter each half. Smaller cucumbers might only need to be halved.
Salting and Icing
To further ensure crispy pickles, I salt and ice them. Sprinkle pickling salt or kosher salt (non-iodized and free of anti-caking agents) generously over the cucumber spears. Toss them to coat evenly. This step draws out moisture and keeps the cucumbers cool during the canning process. After salting, cover the cucumbers with ice and let them sit for about two hours.
3
Preparing the Brine
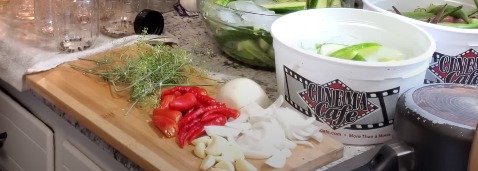
While the cucumbers are chilling, let's prepare our brine. I prefer a simple brine of white vinegar and water in a 3:2 ratio (three cups water to two cups vinegar) with about a tablespoon of salt. Heat the mixture until the salt dissolves.
Pickling Ingredients
Here's where you can get creative. I use a blend of peppercorns, fresh dill, cayenne, red jalapeno, onion, and garlic. Customize your mix to suit your taste—spicier with hot peppers or milder with just dill and garlic.
Packing the Jars
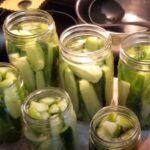
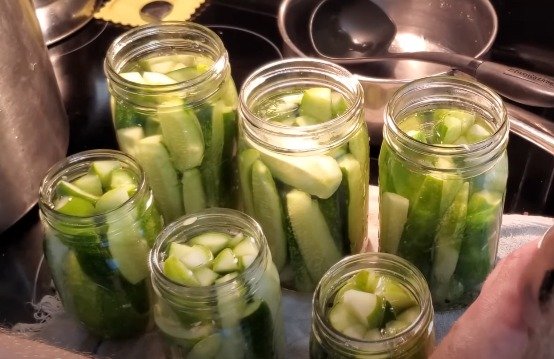
Start by placing your pickling ingredients at the bottom of each jar. Then, pack in the cucumber spears as tightly as possible. This minimizes the amount of brine needed and ensures a well-packed jar.
Filling and Sealing
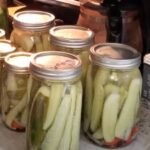
Pour the hot brine over the cucumbers, leaving about half an inch of headspace. Wipe the rims of the jars to ensure a clean seal, then place new lids on top.

4
Water Bath Canning
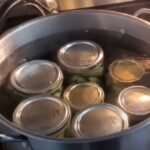
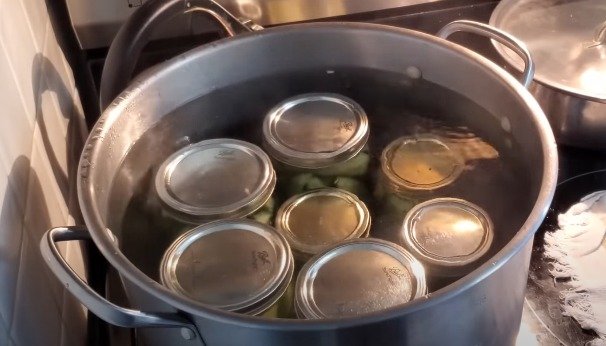
For long-term storage, you'll need to water bath can the jars. Place the jars in a pot of boiling water, ensuring they are covered by at least an inch of water. Boil for 10 minutes, then carefully remove the jars and set them on a towel to cool. As they cool, you'll hear the satisfying pop of the lids sealing.
Taste Test and Enjoy
Once sealed, let the jars sit
5
undisturbed for 12-24 hours. Your pickles are now ready to enjoy! They make fantastic gifts and are a great addition to any farmer's market stall.
6
Final Tips
For extra crunchy pickles, ensure you don't slice the spears too thin.
Always use non-metallic containers for salting to avoid reactions with the metal.

Ingredients
cucumbers
Directions
1
Hello, pickle enthusiasts! Lucy here from Virginia Grace Living. Today, we're diving into the wonderful world of homemade dill pickles. Recently, many of you requested a pickle tutorial, so I'm excited to share my tried-and-true method for achieving that perfect crunch. As a bonus, we'll also cover pickling okra—because who doesn't love some variety?

2
Preparing Your Pickles
First, let's get started by washing our cucumbers. It's important to clean them thoroughly before we begin the slicing process.
Cutting and Trimming
When making pickle spears, one crucial step for ensuring crispness is to cut off the blossom end of the cucumber. This end contains an enzyme that can cause pickles to soften over time. I usually cut a bit off both ends to be safe. For spears, I typically halve the cucumber and then quarter each half. Smaller cucumbers might only need to be halved.
Salting and Icing
To further ensure crispy pickles, I salt and ice them. Sprinkle pickling salt or kosher salt (non-iodized and free of anti-caking agents) generously over the cucumber spears. Toss them to coat evenly. This step draws out moisture and keeps the cucumbers cool during the canning process. After salting, cover the cucumbers with ice and let them sit for about two hours.

3
Preparing the Brine
While the cucumbers are chilling, let's prepare our brine. I prefer a simple brine of white vinegar and water in a 3:2 ratio (three cups water to two cups vinegar) with about a tablespoon of salt. Heat the mixture until the salt dissolves.
Pickling Ingredients
Here's where you can get creative. I use a blend of peppercorns, fresh dill, cayenne, red jalapeno, onion, and garlic. Customize your mix to suit your taste—spicier with hot peppers or milder with just dill and garlic.
Packing the Jars
Start by placing your pickling ingredients at the bottom of each jar. Then, pack in the cucumber spears as tightly as possible. This minimizes the amount of brine needed and ensures a well-packed jar.
Filling and Sealing
Pour the hot brine over the cucumbers, leaving about half an inch of headspace. Wipe the rims of the jars to ensure a clean seal, then place new lids on top.

4
Water Bath Canning
For long-term storage, you'll need to water bath can the jars. Place the jars in a pot of boiling water, ensuring they are covered by at least an inch of water. Boil for 10 minutes, then carefully remove the jars and set them on a towel to cool. As they cool, you'll hear the satisfying pop of the lids sealing.
Taste Test and Enjoy
Once sealed, let the jars sit

5
undisturbed for 12-24 hours. Your pickles are now ready to enjoy! They make fantastic gifts and are a great addition to any farmer's market stall.

6
Final Tips
For extra crunchy pickles, ensure you don't slice the spears too thin.
Always use non-metallic containers for salting to avoid reactions with the metal.

Leave a Review
Please log in or register for a new account in order to leave a review.


