How to Can Apples at Home: A Step-by-Step Guide
apples
sugar
1
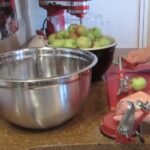
Welcome back to my kitchen! Today, I'm excited to share with you how to can apples, and the best part is that these apples were free, picked straight from the local fairgrounds. With just some sugar, lemon juice, and a bit of time, you can preserve the deliciousness of fresh apples to enjoy year-round. If you’re new to canning, water bath canning is the easiest place to start, and this recipe is super simple. Let’s get started!
Supplies Needed for Canning Apples
Apples
Sugar
Lemon Juice
Water Bath Canner
Canning Jars with Lids and Rings
A Pan for Simple Syrup
Apple Corer
Measuring Cups
Knife
Kitchen Scale
Step-by-Step Instructions
Prepare Your Water Bath Canner: Fill your water bath canner about halfway with water. Since I’m using pint jars, I’ve filled it a little over half. Remember, the water level will rise once the jars are added.
Prepare the Lids: Warm the canning jar lids in a pan of hot water to soften the sealing compound.
Make the Simple Syrup: In a pan, combine 5 ¼ cups of water with 2 ¼ cups of sugar and add a cinnamon stick for flavor. Stir the mixture and bring it to a boil until the sugar dissolves. Once dissolved, reduce the heat to low.
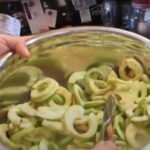
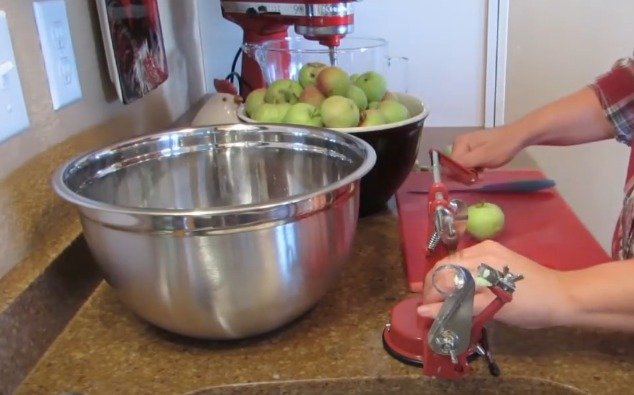
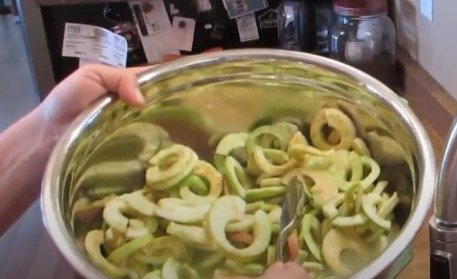
Prepare the Apples: Fill a large bowl with 8 cups of water and half a cup of lemon juice to prevent the apples from browning. Use an apple corer to peel, core, and slice the apples. If you notice any bad spots, cut them out. Place the sliced apples in the lemon juice mixture.
2
Cook the Apples: Drain the apple slices and add them to the simple syrup mixture. Bring it to a boil and cook for about five minutes.
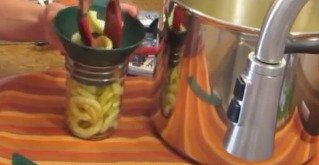
Fill the Jars: While the apples are cooking, prepare your canning jars by washing them and keeping them warm. Fill the jars with the cooked apples, leaving a half-inch of headspace. Ladle the hot syrup over the apples, maintaining the half-inch headspace.
Remove Air Bubbles: Use a non-metallic spatula or a knife to remove any air bubbles by gently running it around the inside edge of the jar. Add more syrup if necessary to maintain the headspace.
3
Seal the Jars: Wipe the rims of the jars with a clean, damp cloth to ensure a good seal. Place the warm lids on the jars and screw the bands on until they are fingertip-tight.
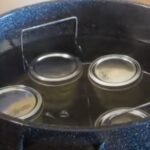
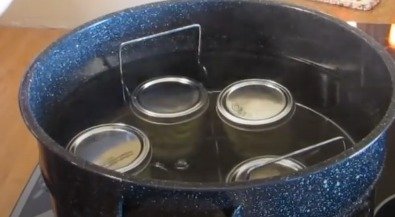
Process the Jars: Place the filled jars in the water bath canner. Ensure the water covers the jars by at least an inch. Bring the water to a rolling boil and process the jars for 30 minutes, adjusting for altitude if necessary.
4
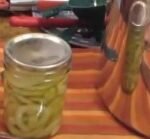
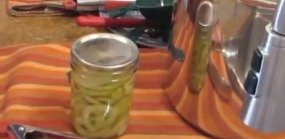
Cool the Jars: After processing, carefully remove the jars from the canner and place them on a towel to cool. Listen for the "pop" sound indicating the jars have sealed. Once cool, check the seals by pressing the center of each lid. If the lid doesn’t flex up and down, it’s sealed correctly.
Store the Jars: Label your jars with the date and contents before storing them in a cool, dark place. Enjoy your home-canned apples throughout the year!
5
Additional Tips
Follow a Trusted Recipe: If you’re new to canning, it’s essential to follow a reliable recipe. The Ball canning book is an excellent resource.
Safety First: Always inspect your jars for proper seals before storing. If a jar didn’t seal, refrigerate it and use it first.
Canning apples is a rewarding and cost-effective way to enjoy the taste of fresh apples all year long. Happy canning!
Ingredients
apples
sugar
Directions
1
Welcome back to my kitchen! Today, I'm excited to share with you how to can apples, and the best part is that these apples were free, picked straight from the local fairgrounds. With just some sugar, lemon juice, and a bit of time, you can preserve the deliciousness of fresh apples to enjoy year-round. If you’re new to canning, water bath canning is the easiest place to start, and this recipe is super simple. Let’s get started!
Supplies Needed for Canning Apples
Apples
Sugar
Lemon Juice
Water Bath Canner
Canning Jars with Lids and Rings
A Pan for Simple Syrup
Apple Corer
Measuring Cups
Knife
Kitchen Scale
Step-by-Step Instructions
Prepare Your Water Bath Canner: Fill your water bath canner about halfway with water. Since I’m using pint jars, I’ve filled it a little over half. Remember, the water level will rise once the jars are added.
Prepare the Lids: Warm the canning jar lids in a pan of hot water to soften the sealing compound.
Make the Simple Syrup: In a pan, combine 5 ¼ cups of water with 2 ¼ cups of sugar and add a cinnamon stick for flavor. Stir the mixture and bring it to a boil until the sugar dissolves. Once dissolved, reduce the heat to low.
Prepare the Apples: Fill a large bowl with 8 cups of water and half a cup of lemon juice to prevent the apples from browning. Use an apple corer to peel, core, and slice the apples. If you notice any bad spots, cut them out. Place the sliced apples in the lemon juice mixture.

2
Cook the Apples: Drain the apple slices and add them to the simple syrup mixture. Bring it to a boil and cook for about five minutes.
Fill the Jars: While the apples are cooking, prepare your canning jars by washing them and keeping them warm. Fill the jars with the cooked apples, leaving a half-inch of headspace. Ladle the hot syrup over the apples, maintaining the half-inch headspace.
Remove Air Bubbles: Use a non-metallic spatula or a knife to remove any air bubbles by gently running it around the inside edge of the jar. Add more syrup if necessary to maintain the headspace.

3
Seal the Jars: Wipe the rims of the jars with a clean, damp cloth to ensure a good seal. Place the warm lids on the jars and screw the bands on until they are fingertip-tight.
Process the Jars: Place the filled jars in the water bath canner. Ensure the water covers the jars by at least an inch. Bring the water to a rolling boil and process the jars for 30 minutes, adjusting for altitude if necessary.

4
Cool the Jars: After processing, carefully remove the jars from the canner and place them on a towel to cool. Listen for the "pop" sound indicating the jars have sealed. Once cool, check the seals by pressing the center of each lid. If the lid doesn’t flex up and down, it’s sealed correctly.
Store the Jars: Label your jars with the date and contents before storing them in a cool, dark place. Enjoy your home-canned apples throughout the year!

5
Additional Tips
Follow a Trusted Recipe: If you’re new to canning, it’s essential to follow a reliable recipe. The Ball canning book is an excellent resource.
Safety First: Always inspect your jars for proper seals before storing. If a jar didn’t seal, refrigerate it and use it first.
Canning apples is a rewarding and cost-effective way to enjoy the taste of fresh apples all year long. Happy canning!

Leave a Review
Please log in or register for a new account in order to leave a review.

