


Related Recipes
-
Canning Fresh Tuna
By manar
-

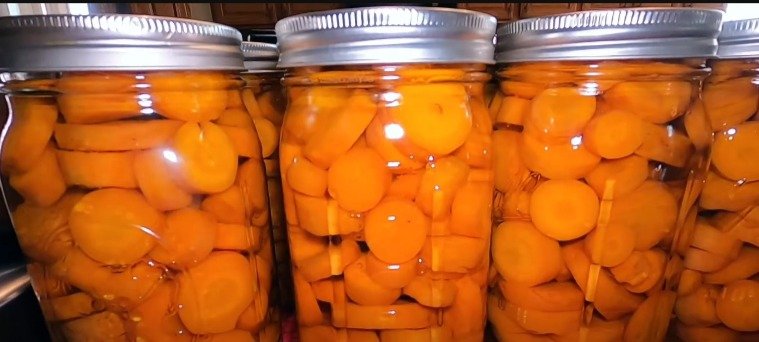
Canning Carrots: A Step-by-Step Guide by T Bear’s Homestead
By Kawther
-

How to Make and Can Homemade Chunky Salsa
By Kawther