Mason jars, Pressure Canner, Canning THE BEST Homemade Beef Stew

1
This is another delicious meal in a jar, today I’m going to show you how I can my beef stew with canning season, Here I can combine my garden vegetables along with meat in the freezer to make a convenient and delicious meal in a jar.
2
To me it’s a win-win-win situation, I get to preserve my summer vegetables I’m using meat in the freezer and making space and making a homemade meal for my family for the future.
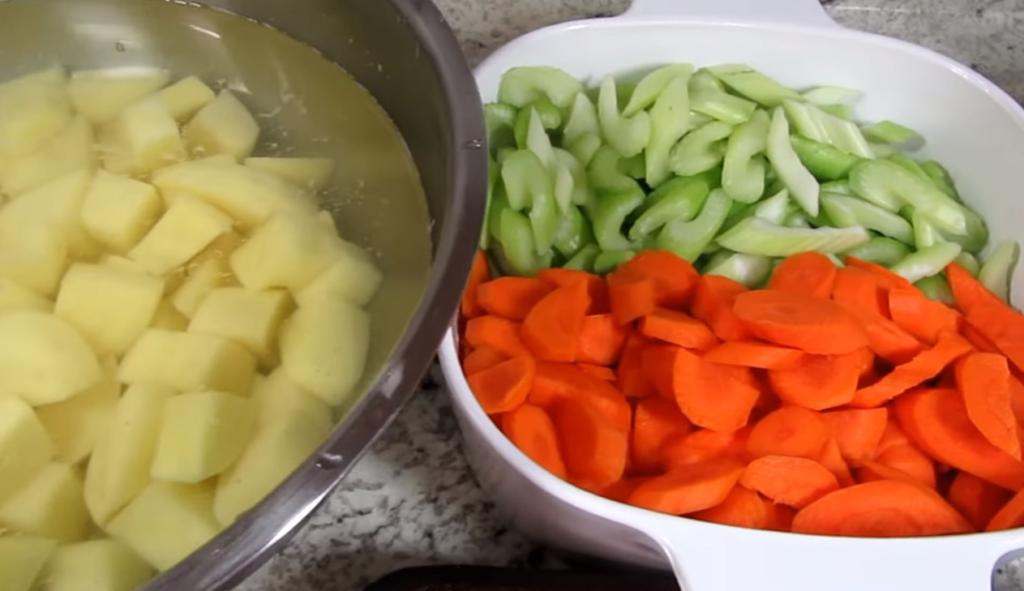
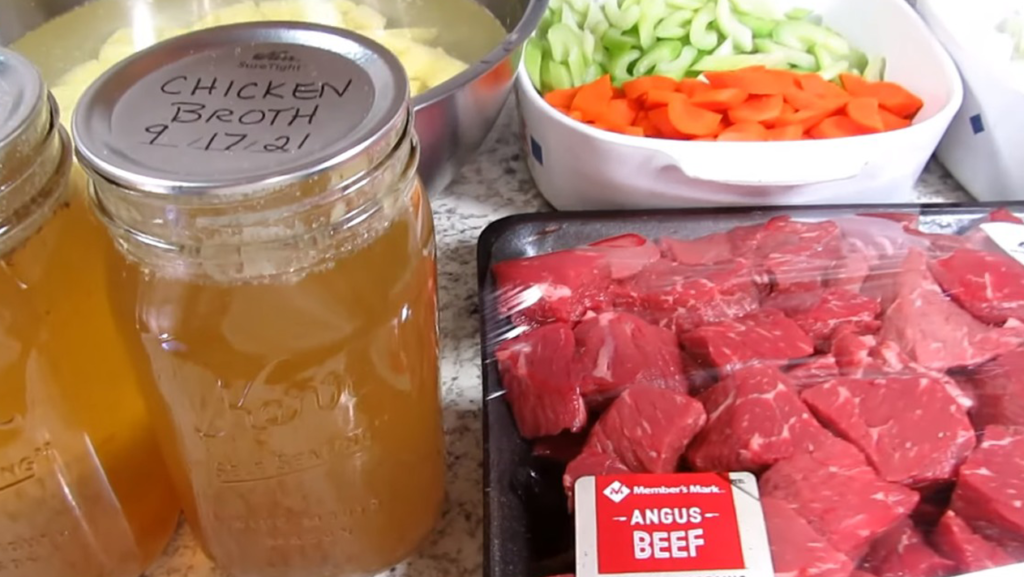
I have five pounds of beef stew meat, onions celery, carrots, potatoes and for the liquid i’m using homemade chicken broth, I really like the combo of the beef and chicken broth together, you can also use water vegetable or beef broth.
3
I have everything prepped and I’m ready to can, I sanitized all my jars and I have my canner on the stove filled with two inches of water and I put in a splash of white vinegar the vinegar helps to decrease the mineral deposits on the jar while canning.

4
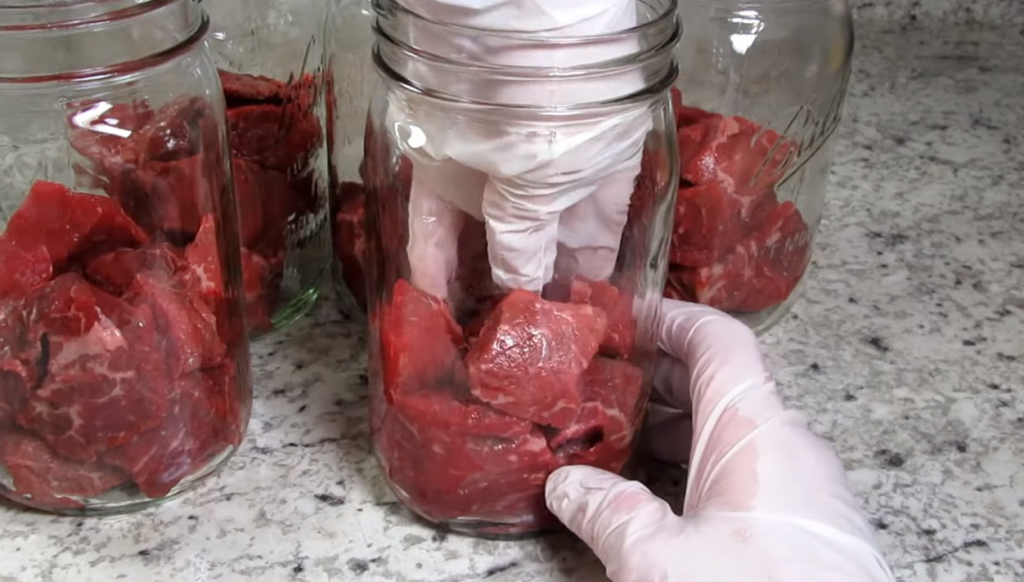
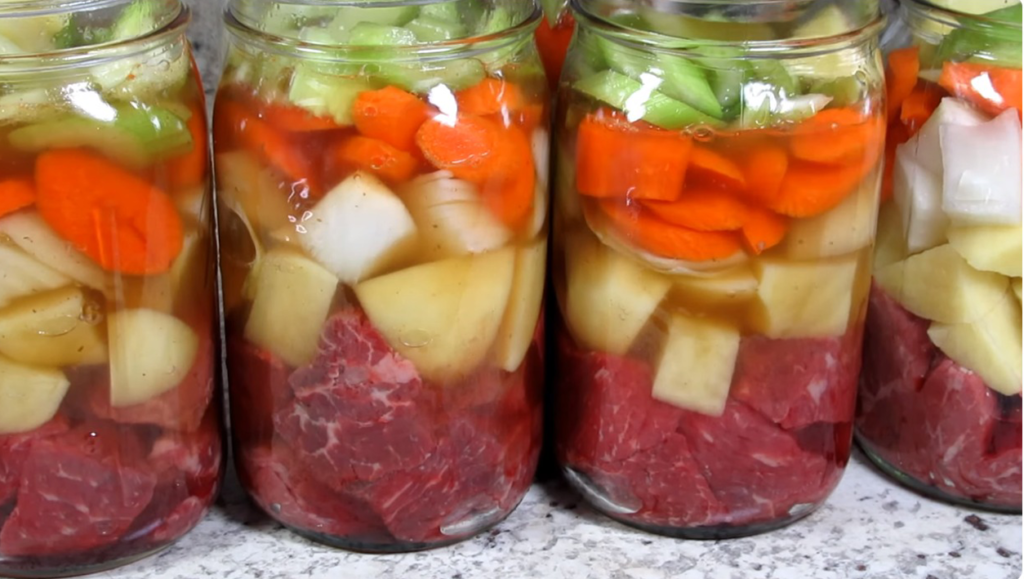
Today I’m canning quart jars and my canner holds seven quarts, I’m evenly distributing my beef cubes into the quart jars, I find that eight to ten pieces of meat per jar fits nicely, remember we have lots of veggies to go in here. I’m just gently pressing down on the meat to fill in some of the air gaps and make room, I want to be able to stuff as much goodness in that jar as i can and be safe you could also brown off your beef before canning, I like the beef for all packs so i’m skipping this step.
5
Next are the potatoes the key to the vegetables is cutting them in similar sizes, you want them nice bite size and not too small because they will become mushy during the canning process, you can add any amount of each vegetable that you like or delete the vegetables that you don’t like. I’m putting in about a half a cup of the potatoes and a quarter cup each of the onions carrots and celery with each layer I’m giving it a gentle push to make more space you want a little air space for the broth to fill in the gaps the liquid acts as a conductor and will help bring the internal temp of the ingredients, up enough to kill all the bacteria.

6
I did add a half a teaspoon of salt to each jar but that was all you could add some pepper thyme garlic or any dried herbs or spices that you like. I like to keep it simple while canning and then add the spices during cooking depending on what I’m making.
You can turn this preserved jar of ingredients into beef stew a beef soup by adding more broth tomatoes and spices a beef pot pie you can serve it with rice or pasta and you can make it any flavor profile that you like.
7
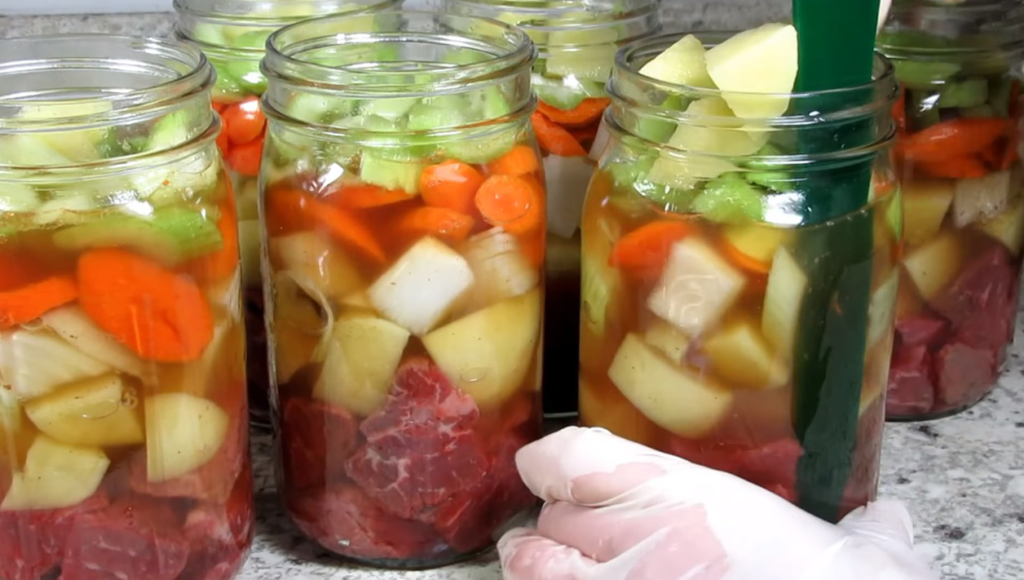
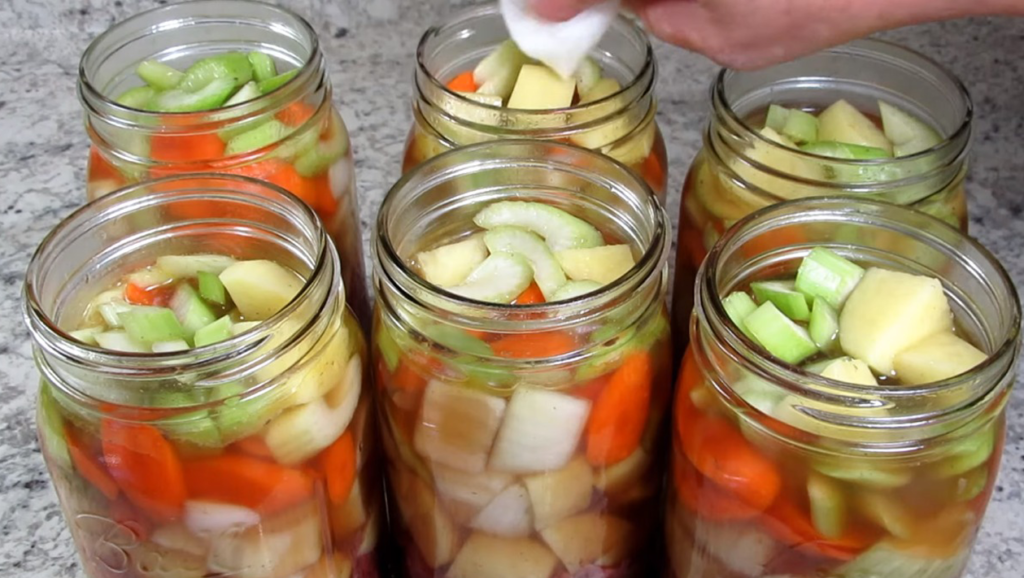
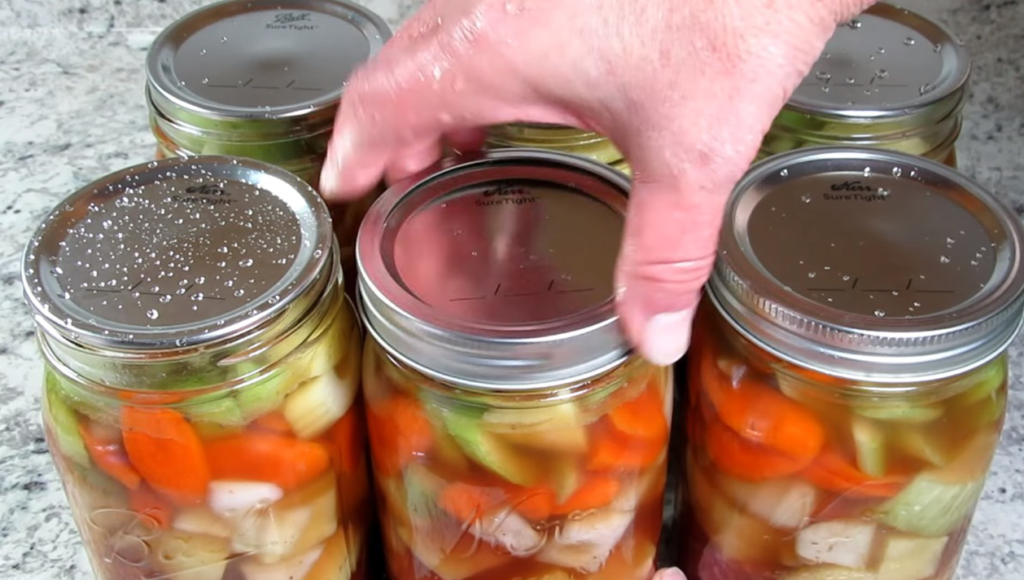
I’m filling each jar with hot chicken broth and I’m leaving the recommended one-inch headspace and don’t forget to de-bubble this is an important step to get out all the extra air give the ingredients another gentle push down and remove any extra veggies if needed to meet the one inch headspace, I’m giving the rims a wipe with a white vinegar cloth placing on my lids and rings finger tight for candy beef stew in court jars.
8
9
10
The processing time is 90 minutes at my location in elevation I use 10 pounds of pressure but you will need to check the usda guidelines for where you are located, This the link ( https://www.nifa.usda.gov/about-nifa/blogs/usdas-complete-guide-home-canning )
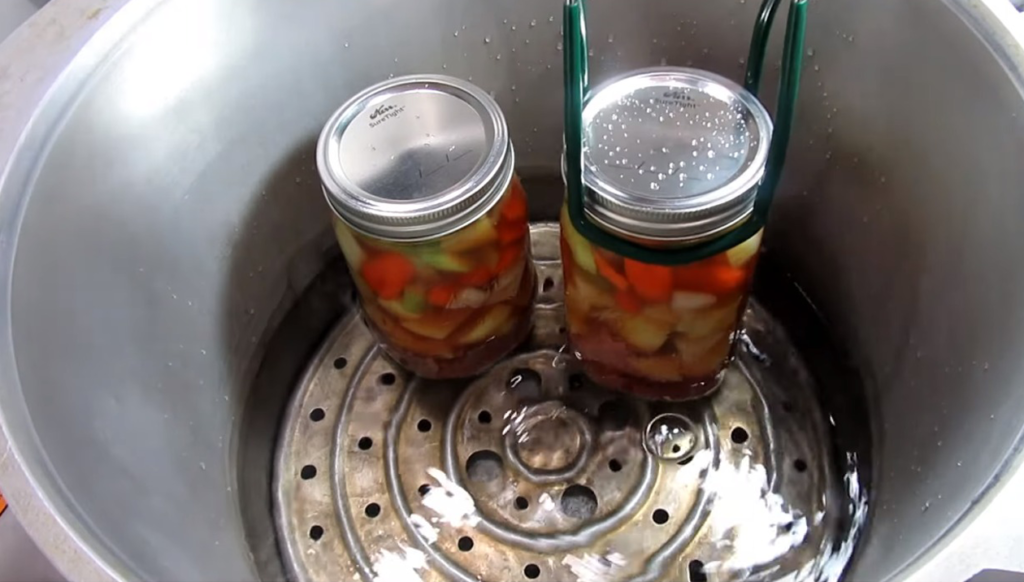
I’m placing on my canner lid and locking in place turning my heat on high venting for a full 10 minutes placing on my 10 pound weight gauge bringing up to 10 pounds of pressure, adjusting the heat to the lowest setting while maintaining my 10 pounds of pressure and then setting the timer for the process of 90 minutes.

11
On my electric stove that sweet spot is around a four to a five but every stove and location is different, so you will need to observe and adjust accordingly, after 90 minutes, turn off the heat and let it rest until the pressure comes completely down to zero and this is going to take about 30 to 45 minutes, you don’t want to rush this. this is all calculated into the canning process.
12
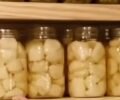
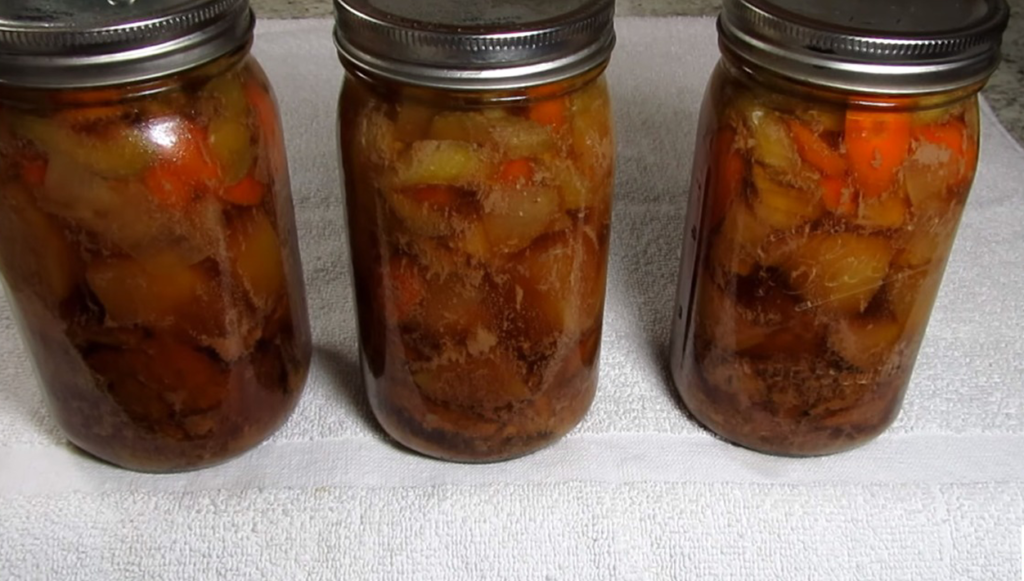
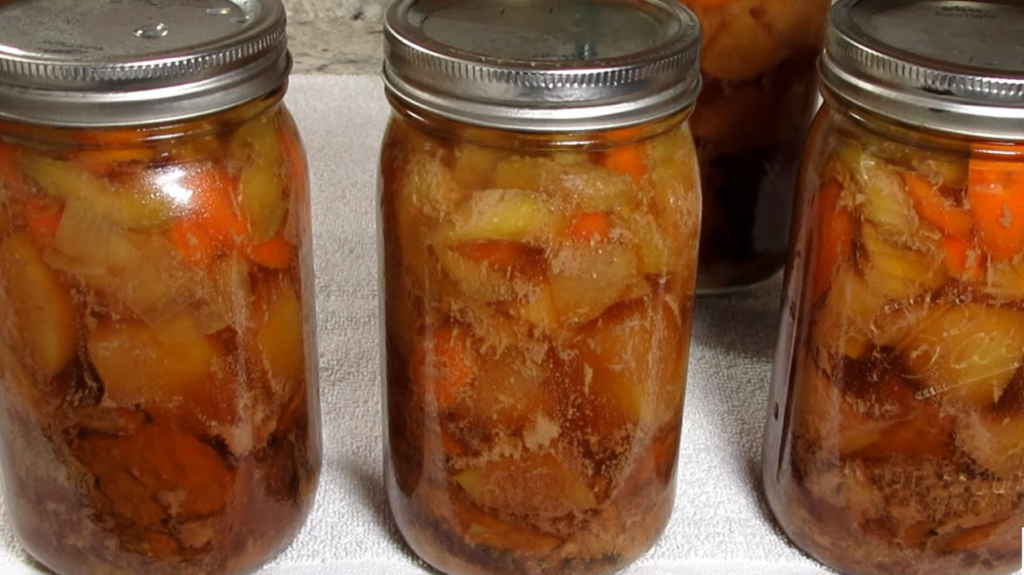
After the gauge register zero remove the weighted gauge and let it rest for 10 to 15 more minutes before removing the lid and this is my beautiful canned beef stew, I’m placing the jars on a towel in a giraffe free area, these jars will be resting for 12 to 24 hours.
13
After 12 hours I remove the rings and make sure everything is sealed I let them rest for the full 24 hours and then I give them a good wash label and place on the shelf pressure, canning is a great way to preserve your food for the future shelf stable and so convenient on those busy days it’s actually peace of mind.
Subscribe : Tess Cooks 4u channel
https://www.youtube.com/@TessCooks4u
Ingredients
Directions
1
This is another delicious meal in a jar, today I’m going to show you how I can my beef stew with canning season, Here I can combine my garden vegetables along with meat in the freezer to make a convenient and delicious meal in a jar.
2
To me it’s a win-win-win situation, I get to preserve my summer vegetables I’m using meat in the freezer and making space and making a homemade meal for my family for the future.
I have five pounds of beef stew meat, onions celery, carrots, potatoes and for the liquid i’m using homemade chicken broth, I really like the combo of the beef and chicken broth together, you can also use water vegetable or beef broth.
3
I have everything prepped and I’m ready to can, I sanitized all my jars and I have my canner on the stove filled with two inches of water and I put in a splash of white vinegar the vinegar helps to decrease the mineral deposits on the jar while canning.
4
Today I’m canning quart jars and my canner holds seven quarts, I’m evenly distributing my beef cubes into the quart jars, I find that eight to ten pieces of meat per jar fits nicely, remember we have lots of veggies to go in here. I’m just gently pressing down on the meat to fill in some of the air gaps and make room, I want to be able to stuff as much goodness in that jar as i can and be safe you could also brown off your beef before canning, I like the beef for all packs so i’m skipping this step.
5
Next are the potatoes the key to the vegetables is cutting them in similar sizes, you want them nice bite size and not too small because they will become mushy during the canning process, you can add any amount of each vegetable that you like or delete the vegetables that you don’t like. I’m putting in about a half a cup of the potatoes and a quarter cup each of the onions carrots and celery with each layer I’m giving it a gentle push to make more space you want a little air space for the broth to fill in the gaps the liquid acts as a conductor and will help bring the internal temp of the ingredients, up enough to kill all the bacteria.
6
I did add a half a teaspoon of salt to each jar but that was all you could add some pepper thyme garlic or any dried herbs or spices that you like. I like to keep it simple while canning and then add the spices during cooking depending on what I’m making.
You can turn this preserved jar of ingredients into beef stew a beef soup by adding more broth tomatoes and spices a beef pot pie you can serve it with rice or pasta and you can make it any flavor profile that you like.
7
I’m filling each jar with hot chicken broth and I’m leaving the recommended one-inch headspace and don’t forget to de-bubble this is an important step to get out all the extra air give the ingredients another gentle push down and remove any extra veggies if needed to meet the one inch headspace, I’m giving the rims a wipe with a white vinegar cloth placing on my lids and rings finger tight for candy beef stew in court jars.
8
9
10
The processing time is 90 minutes at my location in elevation I use 10 pounds of pressure but you will need to check the usda guidelines for where you are located, This the link ( https://www.nifa.usda.gov/about-nifa/blogs/usdas-complete-guide-home-canning )
I’m placing on my canner lid and locking in place turning my heat on high venting for a full 10 minutes placing on my 10 pound weight gauge bringing up to 10 pounds of pressure, adjusting the heat to the lowest setting while maintaining my 10 pounds of pressure and then setting the timer for the process of 90 minutes.
11
On my electric stove that sweet spot is around a four to a five but every stove and location is different, so you will need to observe and adjust accordingly, after 90 minutes, turn off the heat and let it rest until the pressure comes completely down to zero and this is going to take about 30 to 45 minutes, you don’t want to rush this. this is all calculated into the canning process.
12
After the gauge register zero remove the weighted gauge and let it rest for 10 to 15 more minutes before removing the lid and this is my beautiful canned beef stew, I’m placing the jars on a towel in a giraffe free area, these jars will be resting for 12 to 24 hours.
13
After 12 hours I remove the rings and make sure everything is sealed I let them rest for the full 24 hours and then I give them a good wash label and place on the shelf pressure, canning is a great way to preserve your food for the future shelf stable and so convenient on those busy days it’s actually peace of mind.
Subscribe : Tess Cooks 4u channel
https://www.youtube.com/@TessCooks4u
Leave a Review
Please log in or register for a new account in order to leave a review.