


Related Recipes
-

How to Preserve Fresh Strawberries with Sugar
By Kawther
-
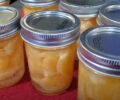
Water Bath Canning Mandarin Oranges: A Beginner’s Guide
By Kawther
-

How to Preserve Fresh Vegetables in Jars
By Kawther