Last Canning of the Season: Debbie’s Chili Con Carne Recipe
1
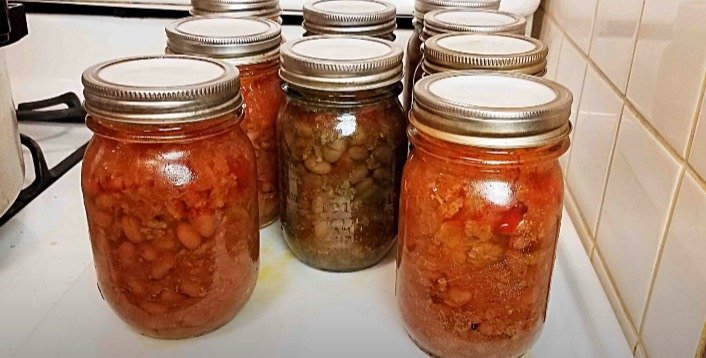
Good morning and welcome to Debbie's Back Porch! I'm thrilled to have you here. This will be my last canning video for the year as the weather cools down. I've saved up some cooking recipes to share next week. For today, we’re canning some delicious chili con carne using a safety-tested recipe from the National Center for Home Food Preservation.
2
Preparing Your Ingredients
Before we dive into the chili recipe, here are a few important steps and tips:
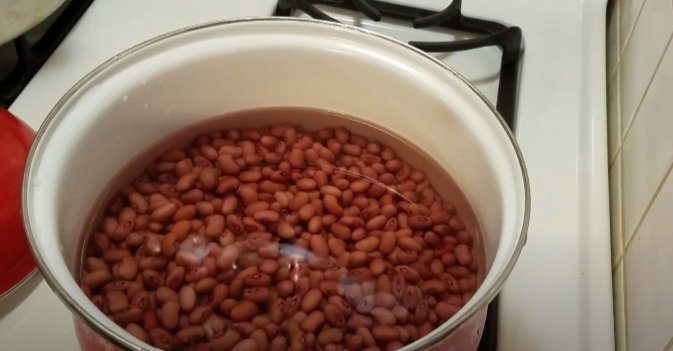
Beans: Start by soaking three cups of beans overnight. Rinse them, cover with fresh water, add salt, bring to a boil, and cook for 30 minutes. Never can dried beans without rehydrating them first, as this can lead to unsafe results.
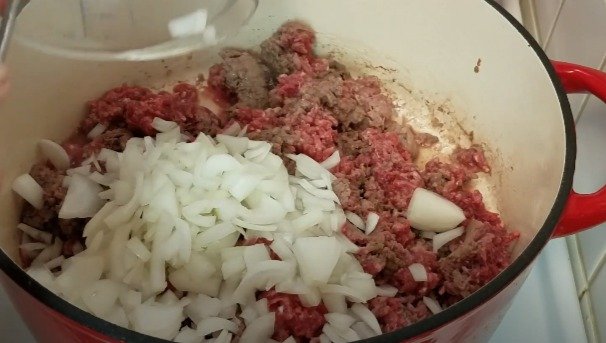
Ground Beef: Brown three pounds of ground beef. Next time, I'll rinse off the fat after browning to avoid excessive fat in the final product. Add 1.5 cups of diced onions and 1 cup of diced bell peppers (optional) to the browned beef, and cook together.
3
Assembling the Chili
Spices and Tomatoes: Add your spices to the beef mixture. I use 3 teaspoons of salt, 3 tablespoons of chili powder, 1 teaspoon of cumin, and 1 tablespoon of garlic powder. Feel free to adjust the spices to your taste. Next, add two quarts of tomatoes. Ensure you have a good mix of liquid and solids to maintain the right consistency for canning.
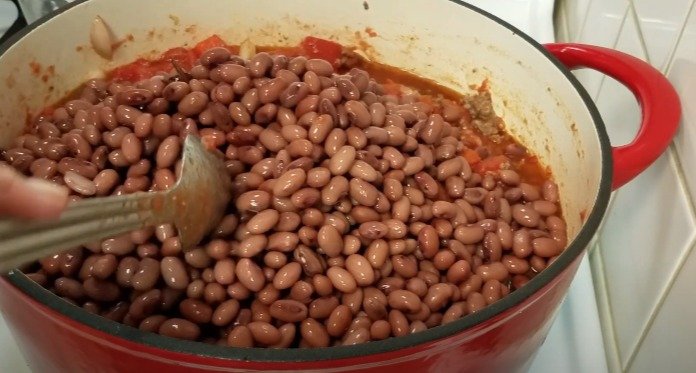
Beans and Simmering: Add the cooked beans to the mixture. Remember, beans will continue to absorb liquid during canning, so you may need to adjust the consistency with more tomatoes or tomato juice if it's too thick.
4
Canning Process
Jars and Canner Preparation: Heat your canning jars and water to 180°F for this hot pack recipe. Fill each jar to one inch headspace, ensuring the mixture is not too dry. Debubble the jars, wipe the rims, and seal with Tattler lids, if available.

5
Pressure Canning: Follow the canner instructions for your specific model. For my All-American 915, I process at 10 pounds of pressure for 75 minutes. Adjust the pressure if you’re above 1,000 feet in elevation.
Post-Canning Steps
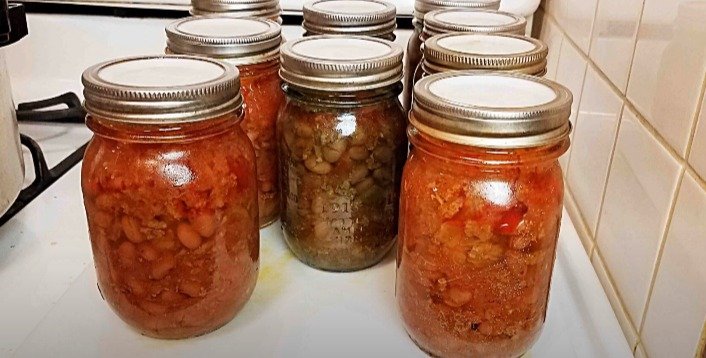
Cooling and Testing Seals: Once processed, let the canner depressurize naturally. Remove the jars and allow them to cool for 12-24 hours. Check seals by lifting the jar by the lid. If using Tattler lids, return the rings to finger-tight immediately after canning to ensure a good seal.
Storage: Remove the rings before storing your jars. This helps prevent rust and ensures a longer shelf life for your canned goods.
Final Thoughts

6
This chili recipe is a great way to end the canning season. Remember, safety-tested recipes are crucial for successful and safe canning. Enjoy your homemade chili
Ingredients
Directions
1
Good morning and welcome to Debbie's Back Porch! I'm thrilled to have you here. This will be my last canning video for the year as the weather cools down. I've saved up some cooking recipes to share next week. For today, we’re canning some delicious chili con carne using a safety-tested recipe from the National Center for Home Food Preservation.

2
Preparing Your Ingredients
Before we dive into the chili recipe, here are a few important steps and tips:
Beans: Start by soaking three cups of beans overnight. Rinse them, cover with fresh water, add salt, bring to a boil, and cook for 30 minutes. Never can dried beans without rehydrating them first, as this can lead to unsafe results.
Ground Beef: Brown three pounds of ground beef. Next time, I'll rinse off the fat after browning to avoid excessive fat in the final product. Add 1.5 cups of diced onions and 1 cup of diced bell peppers (optional) to the browned beef, and cook together.

3
Assembling the Chili
Spices and Tomatoes: Add your spices to the beef mixture. I use 3 teaspoons of salt, 3 tablespoons of chili powder, 1 teaspoon of cumin, and 1 tablespoon of garlic powder. Feel free to adjust the spices to your taste. Next, add two quarts of tomatoes. Ensure you have a good mix of liquid and solids to maintain the right consistency for canning.
Beans and Simmering: Add the cooked beans to the mixture. Remember, beans will continue to absorb liquid during canning, so you may need to adjust the consistency with more tomatoes or tomato juice if it's too thick.

4
Canning Process
Jars and Canner Preparation: Heat your canning jars and water to 180°F for this hot pack recipe. Fill each jar to one inch headspace, ensuring the mixture is not too dry. Debubble the jars, wipe the rims, and seal with Tattler lids, if available.

5
Pressure Canning: Follow the canner instructions for your specific model. For my All-American 915, I process at 10 pounds of pressure for 75 minutes. Adjust the pressure if you’re above 1,000 feet in elevation.
Post-Canning Steps
Cooling and Testing Seals: Once processed, let the canner depressurize naturally. Remove the jars and allow them to cool for 12-24 hours. Check seals by lifting the jar by the lid. If using Tattler lids, return the rings to finger-tight immediately after canning to ensure a good seal.
Storage: Remove the rings before storing your jars. This helps prevent rust and ensures a longer shelf life for your canned goods.
Final Thoughts

6
This chili recipe is a great way to end the canning season. Remember, safety-tested recipes are crucial for successful and safe canning. Enjoy your homemade chili

Leave a Review
Please log in or register for a new account in order to leave a review.

