How to Water Bath Can Homestead Pears: A Step-by-Step Guide

1
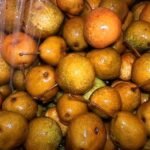
Welcome to Elders and Country Living! My name is Leanne, and today I'll be showing you how to water bath can pears from our homestead. Our pears may not look perfect, but real food isn't perfect, and these are going to taste amazing. Let's get started!
2
Why Can Homestead Pears?
Canning pears allows you to preserve their natural sweetness and enjoy them all year round. Whether you use them in recipes or enjoy them straight from the jar, home-canned pears are a delightful treat, especially when the cold weather sets in.
Ingredients and Equipment
Pears (homegrown or purchased)
Fruit Fresh Produce Protector or lemon juice
Pure cane sugar
Cold water (filtered if not using well water)
Quart mason jars with lids and bands
Large bowl
Water bath canner
Preparing the Pears
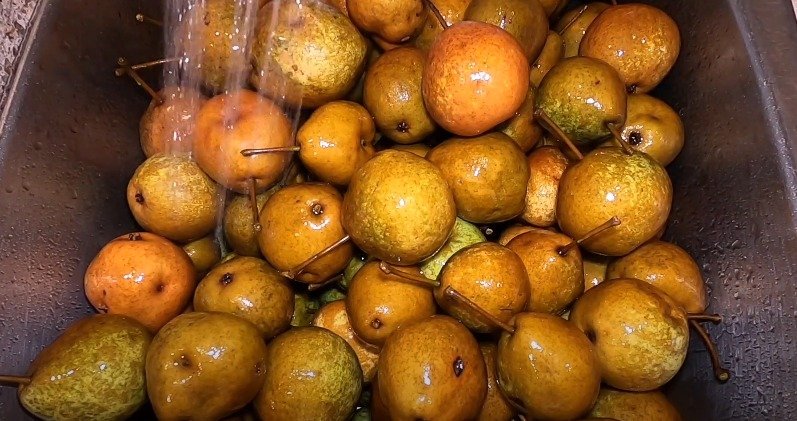
Wash the Pears: Rinse your pears under cold water to remove any debris.
Prepare the Anti-Browning Solution: Fill a large bowl with cold water and add either Fruit Fresh Produce Protector or lemon juice. Swirl the solution with your hand to mix.
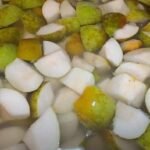
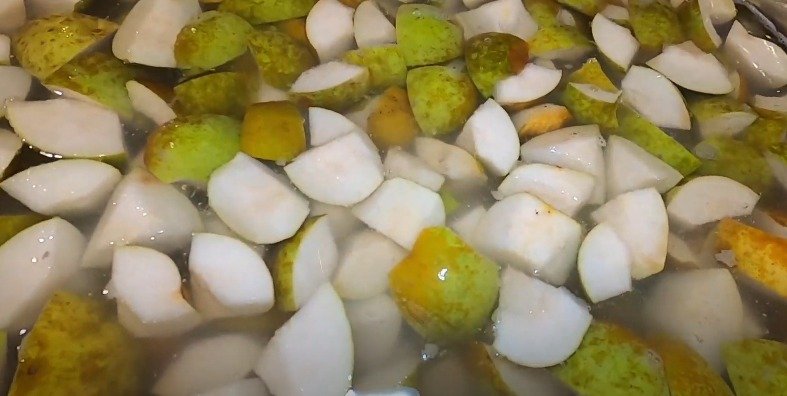
Slice the Pears: Core and chunk the pears, or slice them if you prefer. Leave the skins on for added texture, or peel them if desired.
Prevent Browning: Place the pear chunks in the prepared solution immediately after cutting to prevent browning.
3
Canning Process
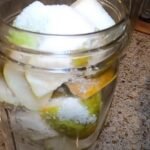
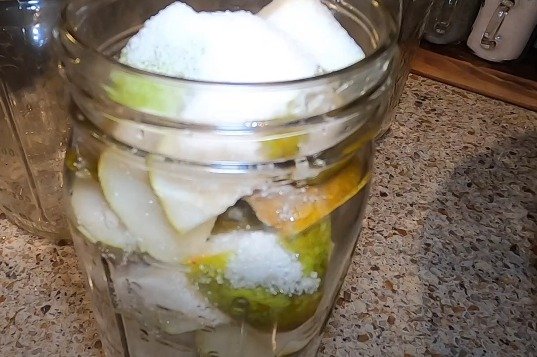
Fill the Jars: Begin placing the pear chunks into clean, room-temperature quart mason jars, leaving about a quarter inch of headspace.
Add Sugar: Add 2 tablespoons of pure cane sugar to each jar. This step enhances the natural sweetness of the pears.
4
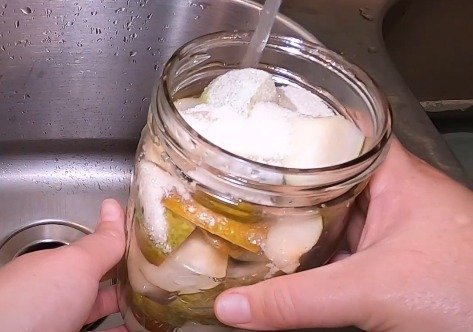
Add Water: Fill the jars with cold water up to the quarter inch headspace mark. Use well water if available; otherwise, use filtered water to avoid altering the taste.
Wipe the Rims: Clean the rims of the jars with a damp cloth or paper towel to remove any sugar or debris.
Seal the Jars: Place the lids on the jars and secure them with bands, tightening them to fingertip tightness.
5
Water Bath Canning
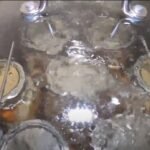
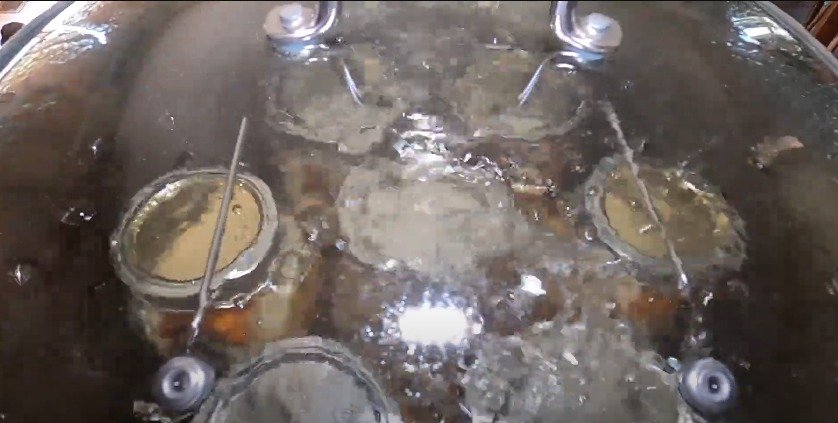
Prepare the Canner: Place the jars in a water bath canner and add cold water to cover the jars by 1-2 inches.
Process the Jars: Turn the burner to high and bring the water to a rolling boil. Once boiling, process the jars for 15 minutes.
Cool Down: After the processing time, turn off the heat and let the jars sit in the hot water for an additional 10 minutes to prevent siphoning.
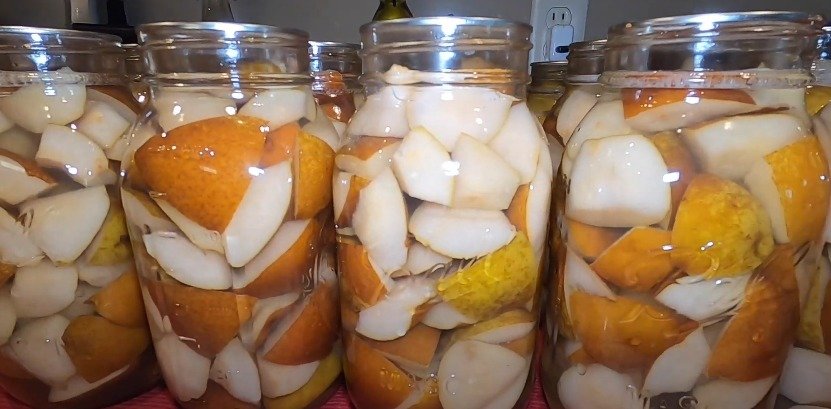
Remove and Cool: Carefully remove the jars from the canner and place them on a towel or cloth placemat to cool for 12-24 hours.
Final Steps
6
Check the Seals: After cooling, ensure all the lids are sealed properly. Remove the bands, wash the jars, and dry them.
Label and Store: Label the jars with the date and contents, and store them in a cool, dry place.
Enjoy Your Homemade Canned Pears
These canned pears are perfect for making a spicy fall pear cake or enjoying straight from the jar. They'll be a delicious treat when the snow is flying, bringing a taste of summer to the colder months.
Happy canning!
Ingredients
Directions
1
Welcome to Elders and Country Living! My name is Leanne, and today I'll be showing you how to water bath can pears from our homestead. Our pears may not look perfect, but real food isn't perfect, and these are going to taste amazing. Let's get started!

2
Why Can Homestead Pears?
Canning pears allows you to preserve their natural sweetness and enjoy them all year round. Whether you use them in recipes or enjoy them straight from the jar, home-canned pears are a delightful treat, especially when the cold weather sets in.
Ingredients and Equipment
Pears (homegrown or purchased)
Fruit Fresh Produce Protector or lemon juice
Pure cane sugar
Cold water (filtered if not using well water)
Quart mason jars with lids and bands
Large bowl
Water bath canner
Preparing the Pears
Wash the Pears: Rinse your pears under cold water to remove any debris.
Prepare the Anti-Browning Solution: Fill a large bowl with cold water and add either Fruit Fresh Produce Protector or lemon juice. Swirl the solution with your hand to mix.
Slice the Pears: Core and chunk the pears, or slice them if you prefer. Leave the skins on for added texture, or peel them if desired.
Prevent Browning: Place the pear chunks in the prepared solution immediately after cutting to prevent browning.

3
Canning Process
Fill the Jars: Begin placing the pear chunks into clean, room-temperature quart mason jars, leaving about a quarter inch of headspace.
Add Sugar: Add 2 tablespoons of pure cane sugar to each jar. This step enhances the natural sweetness of the pears.

4
Add Water: Fill the jars with cold water up to the quarter inch headspace mark. Use well water if available; otherwise, use filtered water to avoid altering the taste.
Wipe the Rims: Clean the rims of the jars with a damp cloth or paper towel to remove any sugar or debris.
Seal the Jars: Place the lids on the jars and secure them with bands, tightening them to fingertip tightness.

5
Water Bath Canning
Prepare the Canner: Place the jars in a water bath canner and add cold water to cover the jars by 1-2 inches.
Process the Jars: Turn the burner to high and bring the water to a rolling boil. Once boiling, process the jars for 15 minutes.
Cool Down: After the processing time, turn off the heat and let the jars sit in the hot water for an additional 10 minutes to prevent siphoning.
Remove and Cool: Carefully remove the jars from the canner and place them on a towel or cloth placemat to cool for 12-24 hours.
Final Steps

6
Check the Seals: After cooling, ensure all the lids are sealed properly. Remove the bands, wash the jars, and dry them.
Label and Store: Label the jars with the date and contents, and store them in a cool, dry place.
Enjoy Your Homemade Canned Pears
These canned pears are perfect for making a spicy fall pear cake or enjoying straight from the jar. They'll be a delicious treat when the snow is flying, bringing a taste of summer to the colder months.
Happy canning!

Leave a Review
Please log in or register for a new account in order to leave a review.

