How to Pickle Bell Peppers: A Complete Guide

1
Welcome to Outdoors and Country Living! I'm Leanne, and today we're in the kitchen preserving our bountiful harvest of bell peppers by pickling them. This is a fantastic way to enjoy your bell peppers all year round. Let's dive into the step-by-step process of making delicious pickled bell peppers.
2
Ingredients for Pickling Mixture
Apple cider vinegar (5% acidity)
Fresh dill or dill weed/seed
Salt (e.g., kosher or pink Himalayan)
Bay leaves
Whole allspice
Cinnamon bark
Whole cloves
Whole black peppercorns
Sugar
Step-by-Step Instructions
Prepare the Bell Peppers:
3
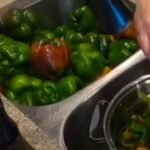
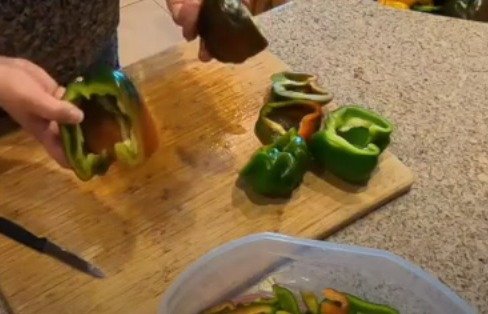
Wash your bell peppers thoroughly. We've had a large harvest from our high tunnel, so we're working with multiple batches.
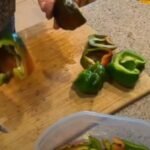
Core the peppers, remove the seeds and veins, and rinse them to ensure all seeds are removed.
Slice the peppers into quarter-inch thick slices. Use a thin paring knife for precision.
Salt the Peppers:
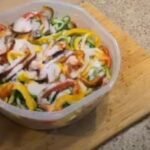
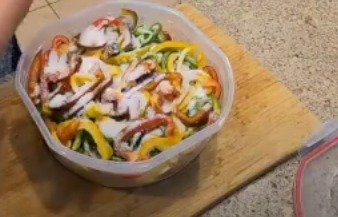
Place the sliced peppers in a large plastic bowl.
Sprinkle kosher salt over the top to draw out excess water and soften the peppers.
Cover the container and refrigerate for at least 24 hours.
Rinse and Drain:
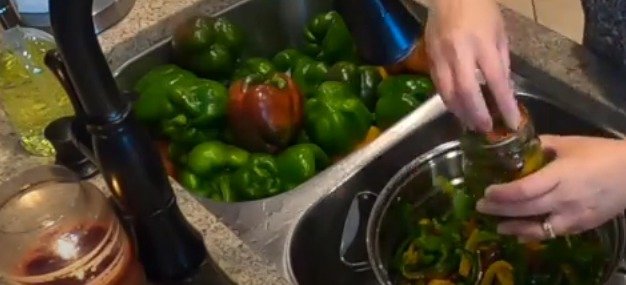
After 24 hours, rinse the salted peppers thoroughly in cold water to remove the salt.
Drain the peppers well using a colander.
Pack the Jars:
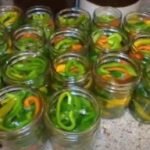
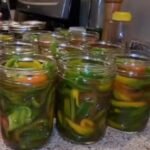
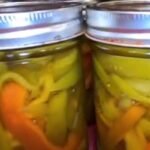
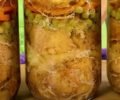
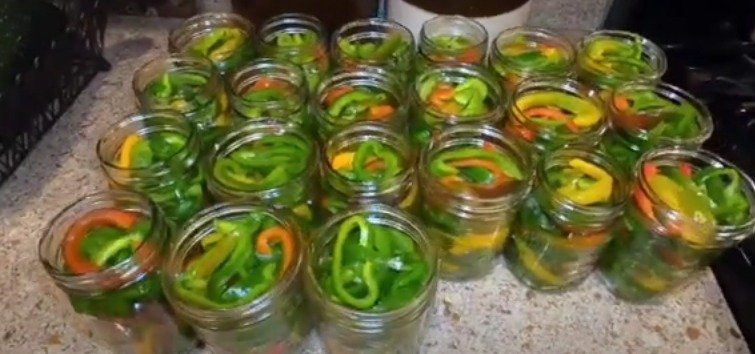
Fill pint mason jars with the rinsed pepper slices, leaving about an inch to a half-inch of headspace.
Press the peppers down slightly to fit as many as possible without cramming them.
Prepare the Pickling Mixture:
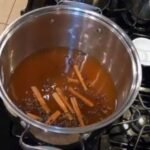
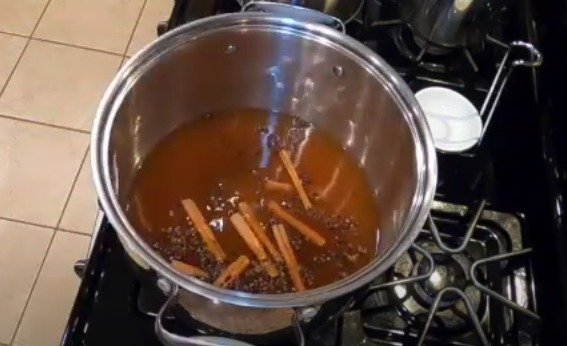
In a large pot, combine the apple cider vinegar with the spices and herbs: fresh dill, salt, bay leaves, whole allspice, cinnamon bark, whole cloves, whole black peppercorns, and sugar.
Bring the mixture to a simmer and let it heat for about 15 minutes.
Strain the mixture to remove the herbs and spices.
Fill the Jars with Pickling Mixture:
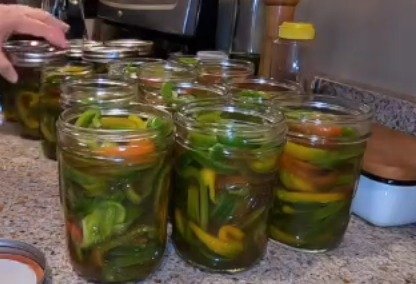
Pour the hot pickling mixture into the jars over the peppers, leaving about an inch of headspace.
Wipe the rims of the jars with a damp rag to ensure a good seal.
Apply the lids and bands, tightening them to fingertip tightness.
Process the Jars:
Place the jars in a water bath canner, ensuring the water covers the jars by 1-2 inches.
Bring the water to a boil and process the jars for 10 minutes.
4
After processing, turn off the heat and let the jars sit in the hot water for an additional 5-8 minutes to prevent siphoning.
Cool and Store:
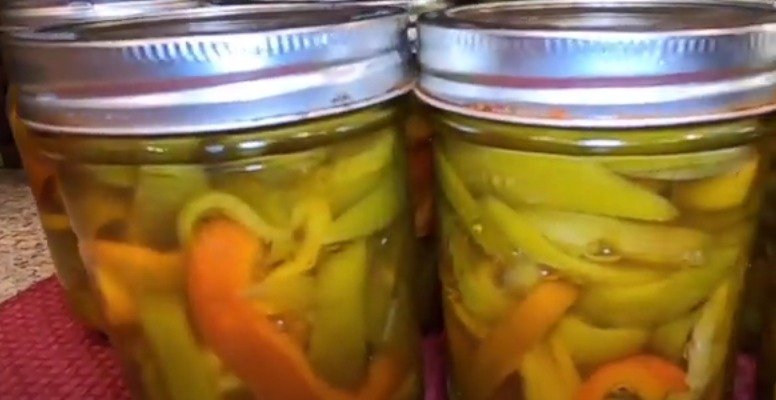
Remove the jars from the canner and place them on a towel or cloth placemat.
Let them cool undisturbed for 12-24 hours.
5
Once cooled, remove the bands, wash the jars if needed, label them, and store them in a cool, dark place.
Enjoying Your Pickled Bell Peppers
Pickled bell peppers are a versatile addition to many dishes. Here are some ways to enjoy them:
6
As a topping for salads
In sandwiches and wraps
As a side dish with grilled meats
Chopped into pasta or potato salads
Added to charcuterie boards
These pickled peppers will add a tangy, flavorful punch to your meals and are a great way to preserve your harvest. I hope you enjoy making and eating them as much as we do.
7
Until next time, take care and may God bless you. We'll see you later!
Ingredients
Directions
1
Welcome to Outdoors and Country Living! I'm Leanne, and today we're in the kitchen preserving our bountiful harvest of bell peppers by pickling them. This is a fantastic way to enjoy your bell peppers all year round. Let's dive into the step-by-step process of making delicious pickled bell peppers.

2
Ingredients for Pickling Mixture
Apple cider vinegar (5% acidity)
Fresh dill or dill weed/seed
Salt (e.g., kosher or pink Himalayan)
Bay leaves
Whole allspice
Cinnamon bark
Whole cloves
Whole black peppercorns
Sugar
Step-by-Step Instructions
Prepare the Bell Peppers:

3
Wash your bell peppers thoroughly. We've had a large harvest from our high tunnel, so we're working with multiple batches.
Core the peppers, remove the seeds and veins, and rinse them to ensure all seeds are removed.
Slice the peppers into quarter-inch thick slices. Use a thin paring knife for precision.
Salt the Peppers:
Place the sliced peppers in a large plastic bowl.
Sprinkle kosher salt over the top to draw out excess water and soften the peppers.
Cover the container and refrigerate for at least 24 hours.
Rinse and Drain:
After 24 hours, rinse the salted peppers thoroughly in cold water to remove the salt.
Drain the peppers well using a colander.
Pack the Jars:
Fill pint mason jars with the rinsed pepper slices, leaving about an inch to a half-inch of headspace.
Press the peppers down slightly to fit as many as possible without cramming them.
Prepare the Pickling Mixture:
In a large pot, combine the apple cider vinegar with the spices and herbs: fresh dill, salt, bay leaves, whole allspice, cinnamon bark, whole cloves, whole black peppercorns, and sugar.
Bring the mixture to a simmer and let it heat for about 15 minutes.
Strain the mixture to remove the herbs and spices.
Fill the Jars with Pickling Mixture:
Pour the hot pickling mixture into the jars over the peppers, leaving about an inch of headspace.
Wipe the rims of the jars with a damp rag to ensure a good seal.
Apply the lids and bands, tightening them to fingertip tightness.
Process the Jars:
Place the jars in a water bath canner, ensuring the water covers the jars by 1-2 inches.
Bring the water to a boil and process the jars for 10 minutes.

4
After processing, turn off the heat and let the jars sit in the hot water for an additional 5-8 minutes to prevent siphoning.
Cool and Store:
Remove the jars from the canner and place them on a towel or cloth placemat.
Let them cool undisturbed for 12-24 hours.

5
Once cooled, remove the bands, wash the jars if needed, label them, and store them in a cool, dark place.
Enjoying Your Pickled Bell Peppers
Pickled bell peppers are a versatile addition to many dishes. Here are some ways to enjoy them:

6
As a topping for salads
In sandwiches and wraps
As a side dish with grilled meats
Chopped into pasta or potato salads
Added to charcuterie boards
These pickled peppers will add a tangy, flavorful punch to your meals and are a great way to preserve your harvest. I hope you enjoy making and eating them as much as we do.

7
Until next time, take care and may God bless you. We'll see you later!

Leave a Review
Please log in or register for a new account in order to leave a review.

