How to Make Super Crunchy Dill Pickles: A Step-by-Step Guide

1
Welcome back to the kitchen! Today, we're excited to share our recipe for super crunchy dill pickles. Follow along as we transform our garden-fresh cucumbers into delicious, tangy pickles perfect for snacking, sandwiches, and more.
2
Step 1: Preparing the Cucumbers
First, we harvested our cucumbers and cut off the blossom ends. These cucumbers have been soaking in a salt brine in the refrigerator for two days. To prepare the brine, dissolve three-quarters of a cup of pickling salt in a quart of warm water. Once the salt is dissolved, add more water to make two gallons (eight quarts in total). After two days, your cucumbers will be ready for the next step.
Step 2: Testing Jar Capacity
To determine how many jars you'll need, we conducted a test. We cut some cucumbers into spears and filled one pint jar as tightly as possible. Then, we added cold water up to a quarter-inch headspace. After dumping the water into a measuring cup, we found that each jar requires about half a cup of brine. For 15 jars, you'll need eight cups of brine.
Step 3: Making the Brine
In a large pot, combine two quarts of water, six cups of white vinegar, a quarter cup of sugar, and a half cup of pickling salt. Add a tablespoon of pickling spice, wrapped in a cheesecloth or muslin bag, and bring the mixture to a boil.

3
Step 4: Preparing the Jars
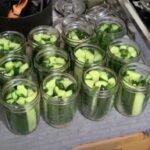
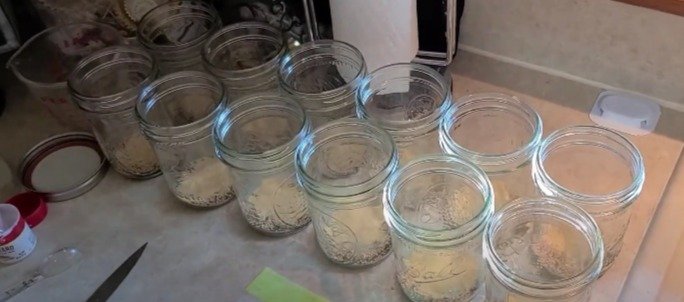
While the brine is heating, prepare your jars. Add a teaspoon each of mustard seed, dill seed, and dried granulated garlic (equivalent to one clove) to each jar. Cut the cucumbers into four-inch spears and pack them tightly into the jars.
Step 5: Filling the Jars
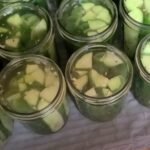
Once the brine is ready, fill each jar with the hot brine, leaving a quarter-inch headspace. Use a plastic handle to remove any air bubbles. Wipe the rims of the jars with white vinegar on a paper towel to ensure a good seal, then place the lids on the jars.

4
Step 6: Processing the Pickles
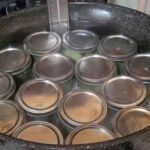
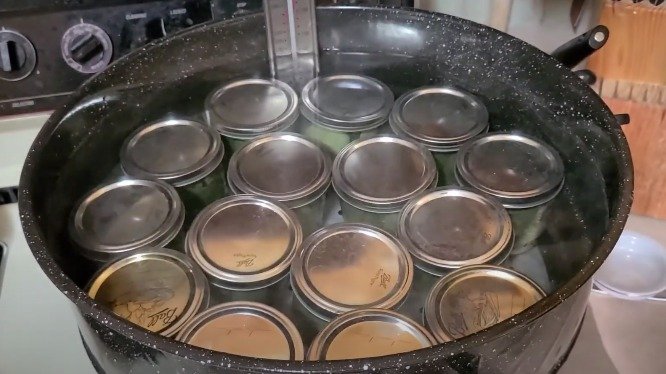
Preheat your canner to about 140 degrees. Place the jars in the canner, ensuring they are covered with about an inch of water. Bring the canner temperature up to 180 degrees and maintain it for 30 minutes. This pasteurization process keeps the pickles crunchy, as it prevents the cucumbers from cooking fully.
Step 7: Cooling and Sealing
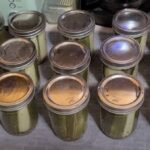
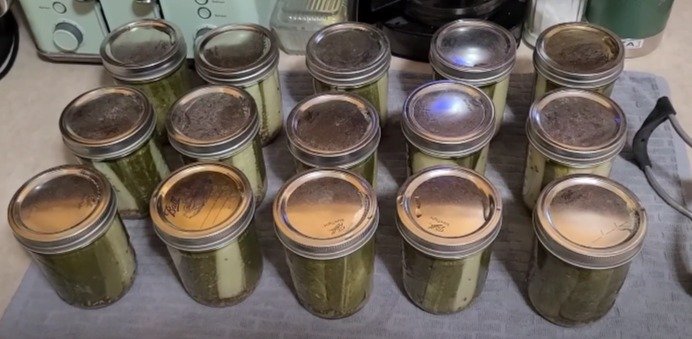
After 30 minutes, carefully remove the jars from the canner and place them on a towel-covered counter to cool. As the jars cool, you'll hear the lids popping, indicating a proper seal. This ensures your pickles are preserved and ready to store.
5
Additional Tips
If you have leftover brine, use it to make refrigerator pickles. Simply cut more cucumbers, add the same spices, fill with brine, and store in the fridge.
For best results, use a digital thermometer to monitor the canner temperature accurately.
By following these steps, you'll have 15 jars of delicious, crunchy dill pickles ready to enjoy. Stay safe and happy canning!
Ingredients
Directions
1
Welcome back to the kitchen! Today, we're excited to share our recipe for super crunchy dill pickles. Follow along as we transform our garden-fresh cucumbers into delicious, tangy pickles perfect for snacking, sandwiches, and more.

2
Step 1: Preparing the Cucumbers
First, we harvested our cucumbers and cut off the blossom ends. These cucumbers have been soaking in a salt brine in the refrigerator for two days. To prepare the brine, dissolve three-quarters of a cup of pickling salt in a quart of warm water. Once the salt is dissolved, add more water to make two gallons (eight quarts in total). After two days, your cucumbers will be ready for the next step.
Step 2: Testing Jar Capacity
To determine how many jars you'll need, we conducted a test. We cut some cucumbers into spears and filled one pint jar as tightly as possible. Then, we added cold water up to a quarter-inch headspace. After dumping the water into a measuring cup, we found that each jar requires about half a cup of brine. For 15 jars, you'll need eight cups of brine.
Step 3: Making the Brine
In a large pot, combine two quarts of water, six cups of white vinegar, a quarter cup of sugar, and a half cup of pickling salt. Add a tablespoon of pickling spice, wrapped in a cheesecloth or muslin bag, and bring the mixture to a boil.

3
Step 4: Preparing the Jars
While the brine is heating, prepare your jars. Add a teaspoon each of mustard seed, dill seed, and dried granulated garlic (equivalent to one clove) to each jar. Cut the cucumbers into four-inch spears and pack them tightly into the jars.
Step 5: Filling the Jars
Once the brine is ready, fill each jar with the hot brine, leaving a quarter-inch headspace. Use a plastic handle to remove any air bubbles. Wipe the rims of the jars with white vinegar on a paper towel to ensure a good seal, then place the lids on the jars.

4
Step 6: Processing the Pickles
Preheat your canner to about 140 degrees. Place the jars in the canner, ensuring they are covered with about an inch of water. Bring the canner temperature up to 180 degrees and maintain it for 30 minutes. This pasteurization process keeps the pickles crunchy, as it prevents the cucumbers from cooking fully.
Step 7: Cooling and Sealing
After 30 minutes, carefully remove the jars from the canner and place them on a towel-covered counter to cool. As the jars cool, you'll hear the lids popping, indicating a proper seal. This ensures your pickles are preserved and ready to store.

5
Additional Tips
If you have leftover brine, use it to make refrigerator pickles. Simply cut more cucumbers, add the same spices, fill with brine, and store in the fridge.
For best results, use a digital thermometer to monitor the canner temperature accurately.
By following these steps, you'll have 15 jars of delicious, crunchy dill pickles ready to enjoy. Stay safe and happy canning!

Leave a Review
Please log in or register for a new account in order to leave a review.


