How to Can Pickled Peppers: A Step-by-Step Guide

1
Hello and welcome to Outdoors and Country Living! I'm Leanne, and in today's guide, I'll show you how to can pickled peppers to stock your pantry with delicious, homemade goodness. These crispy and crunchy pickled peppers are perfect for adding to pizza, salads, sandwiches, or even taco meat. Let's get started!
2
Ingredients and Equipment
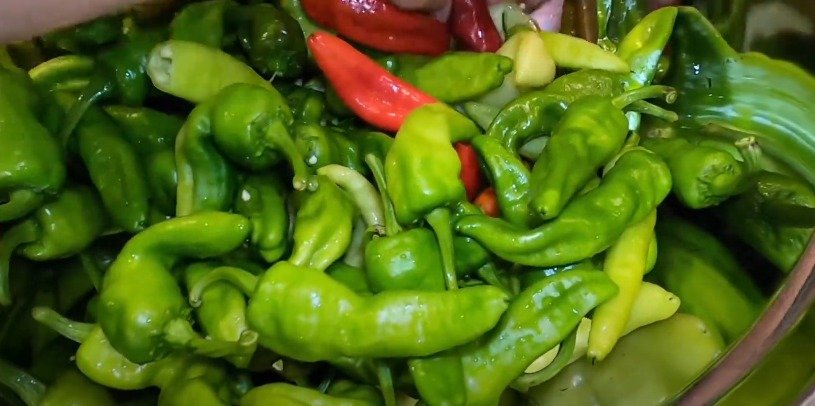
Sweet Peppers (variety of colors and shapes)
4 cups White Vinegar
4 cups Water
2/3 cup Coarse Kosher Salt (non-iodized)
1 tablespoon Turmeric
Minced Garlic in Water (1/2 teaspoon per jar)
Pickle Crisp or Calcium Chloride (1/4 teaspoon per jar)
Jars, Lids, and Bands
Water Bath Canner
Preparation
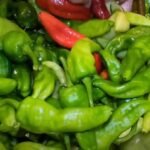
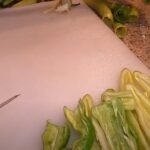
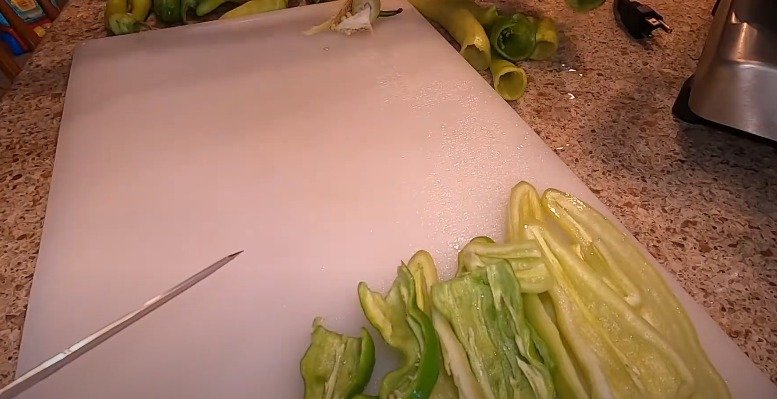
Prepare the Peppers: Slice your sweet peppers to your preferred thickness. You can choose to remove the seeds by either pulling them out or cutting the peppers in half and rinsing under cold water. Whether to leave some seeds is up to you.
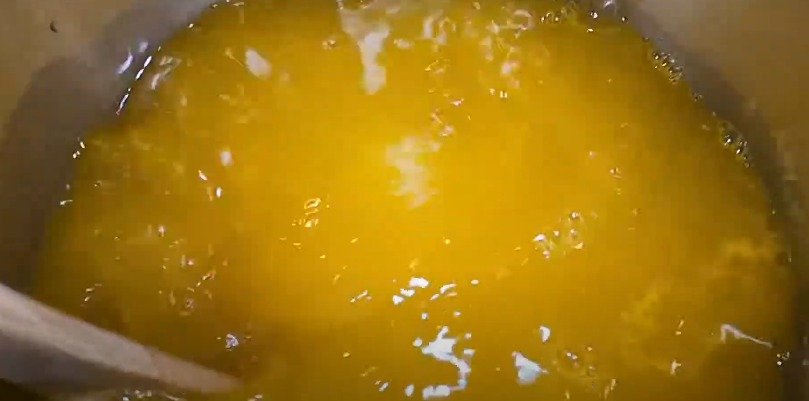
Create the Brine: In a pot, combine 4 cups of white vinegar, 4 cups of water, 2/3 cup of coarse kosher salt, and 1 tablespoon of turmeric. Stir until the salt dissolves. There's no need to heat the brine, which helps keep the peppers crispy.
Canning Process
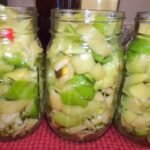
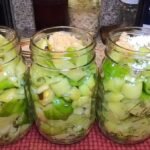
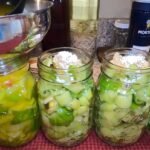
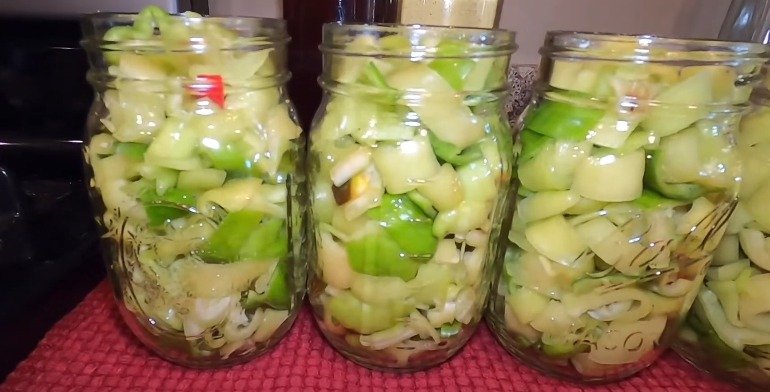
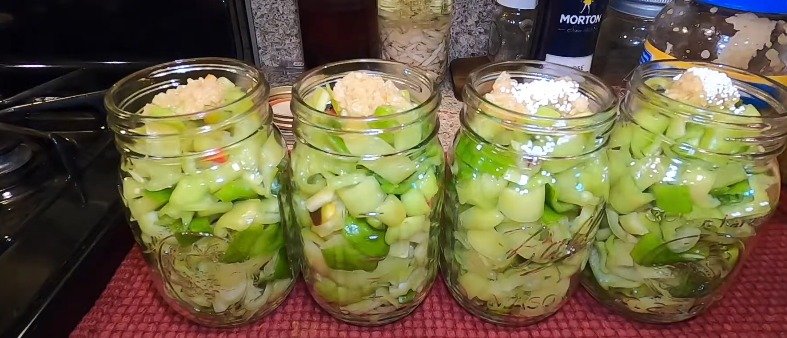
Prepare the Jars: Add 1/2 teaspoon of minced garlic and 1/4 teaspoon of pickle crisp to each jar. Pack the jars tightly with the sliced peppers, ensuring they are firmly pressed in.
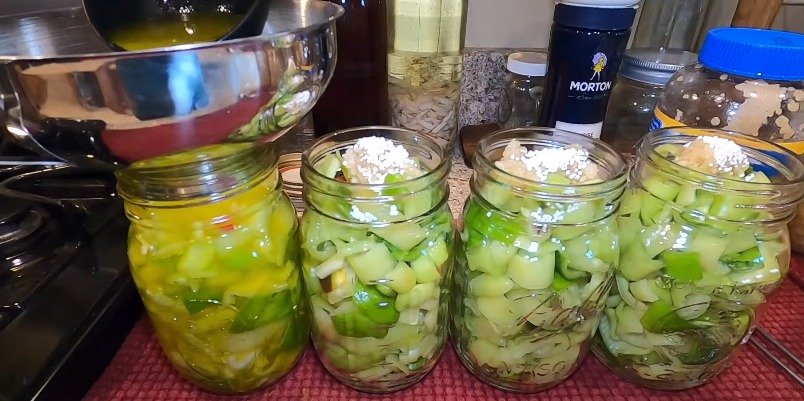
Add the Brine: Ladle the brine into each jar, leaving about 1/2 inch to 1/4 inch of headspace. Wipe the rims of the jars with a damp paper towel to remove any residue that might prevent sealing. Place the lids and bands on the jars, tightening them to fingertip tightness.
3
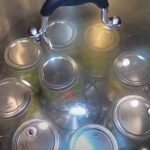
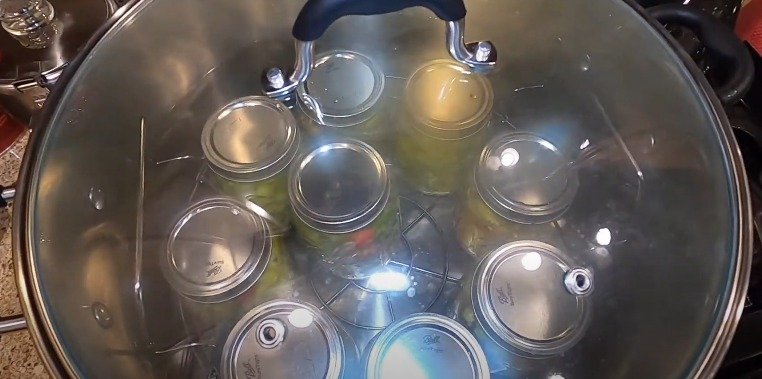
Water Bath Canning: Place the jars in a water bath canner, ensuring they are covered by 1-2 inches of water. Bring the water to a rolling boil and process the jars for 10 minutes (adjust processing time if you are at an elevation above 1,000 feet).
4
Cooling and Storing: After 10 minutes, carefully remove the jars from the canner and let them sit for 12 to 24 hours until they are cool and the lids are sealed. Once cooled, remove the bands, clean the jars, label them, and store them in a cool, dark place.
5
Enjoy Your Pickled Peppers
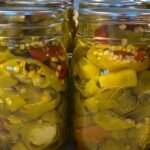
Your homemade pickled peppers are now ready to enjoy! Their beautiful yellow color comes from the turmeric, which also adds health benefits as an anti-inflammatory.
6
These peppers are versatile and can be used in various dishes, from pizzas and sandwiches to salads and taco meat. No need to buy pickled peppers from the store when you can make your own.
7
Thank you for joining me in this pickling adventure.
8
We appreciate your interest in learning how to make these delicious pickled peppers. Now that you know how, why not give it a try? Enjoy the process and the tasty results!

Ingredients
Directions
1
Hello and welcome to Outdoors and Country Living! I'm Leanne, and in today's guide, I'll show you how to can pickled peppers to stock your pantry with delicious, homemade goodness. These crispy and crunchy pickled peppers are perfect for adding to pizza, salads, sandwiches, or even taco meat. Let's get started!

2
Ingredients and Equipment
Sweet Peppers (variety of colors and shapes)
4 cups White Vinegar
4 cups Water
2/3 cup Coarse Kosher Salt (non-iodized)
1 tablespoon Turmeric
Minced Garlic in Water (1/2 teaspoon per jar)
Pickle Crisp or Calcium Chloride (1/4 teaspoon per jar)
Jars, Lids, and Bands
Water Bath Canner
Preparation
Prepare the Peppers: Slice your sweet peppers to your preferred thickness. You can choose to remove the seeds by either pulling them out or cutting the peppers in half and rinsing under cold water. Whether to leave some seeds is up to you.
Create the Brine: In a pot, combine 4 cups of white vinegar, 4 cups of water, 2/3 cup of coarse kosher salt, and 1 tablespoon of turmeric. Stir until the salt dissolves. There's no need to heat the brine, which helps keep the peppers crispy.
Canning Process
Prepare the Jars: Add 1/2 teaspoon of minced garlic and 1/4 teaspoon of pickle crisp to each jar. Pack the jars tightly with the sliced peppers, ensuring they are firmly pressed in.
Add the Brine: Ladle the brine into each jar, leaving about 1/2 inch to 1/4 inch of headspace. Wipe the rims of the jars with a damp paper towel to remove any residue that might prevent sealing. Place the lids and bands on the jars, tightening them to fingertip tightness.

3
Water Bath Canning: Place the jars in a water bath canner, ensuring they are covered by 1-2 inches of water. Bring the water to a rolling boil and process the jars for 10 minutes (adjust processing time if you are at an elevation above 1,000 feet).

4
Cooling and Storing: After 10 minutes, carefully remove the jars from the canner and let them sit for 12 to 24 hours until they are cool and the lids are sealed. Once cooled, remove the bands, clean the jars, label them, and store them in a cool, dark place.

5
Enjoy Your Pickled Peppers
Your homemade pickled peppers are now ready to enjoy! Their beautiful yellow color comes from the turmeric, which also adds health benefits as an anti-inflammatory.

6
These peppers are versatile and can be used in various dishes, from pizzas and sandwiches to salads and taco meat. No need to buy pickled peppers from the store when you can make your own.

7
Thank you for joining me in this pickling adventure.

8
We appreciate your interest in learning how to make these delicious pickled peppers. Now that you know how, why not give it a try? Enjoy the process and the tasty results!

Leave a Review
Please log in or register for a new account in order to leave a review.

