How to Can Cherries at Home: A Step-by-Step Guide

1
Canning cherries at home might seem intimidating, but it's actually a fairly simple process once you learn the basics. Today, I’ll guide you through the entire process and introduce you to some simple, affordable tools you'll need. Home-canned fruit always tastes better than store-bought, making this endeavor totally worth it.
2
Essential Supplies for Canning Cherries
Cherries
Sugar
A Home Canning Book: Use the latest USDA source for accurate information. These are available online or through your local Extension Office.
Water Bath Canning Kettle: Comes with a rack and lid.
Canning Jar Lids and Rings
Empty Canning Jars
Measuring Cups
Kettle: Should hold about ten to twelve cups.
Ladle and Canning Funnel: Not essential, but very helpful.
Colander
Steps for Canning Cherries
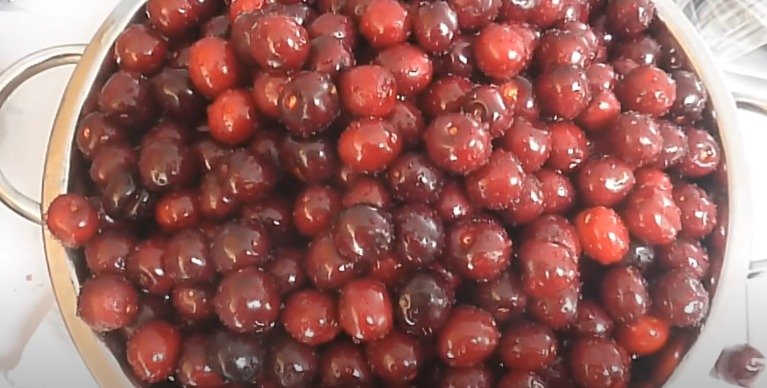
Prepare the Cherries: Remove the stems and sort through the cherries to discard any rotten or moldy ones. Rinse the cherries well under cool water.
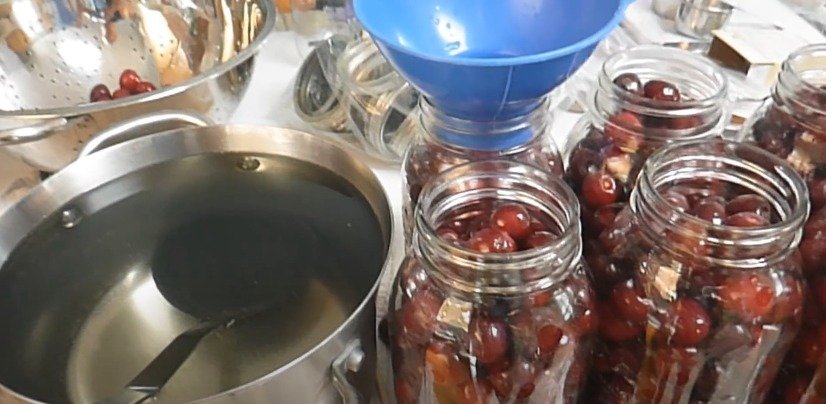
Make the Syrup: Depending on the ripeness of your cherries, you might choose a light or medium syrup. For a medium syrup, mix eight and a quarter cups of water with three and three-quarter cups of sugar in a pot. Heat the mixture on medium-low until the sugar dissolves.
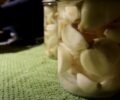
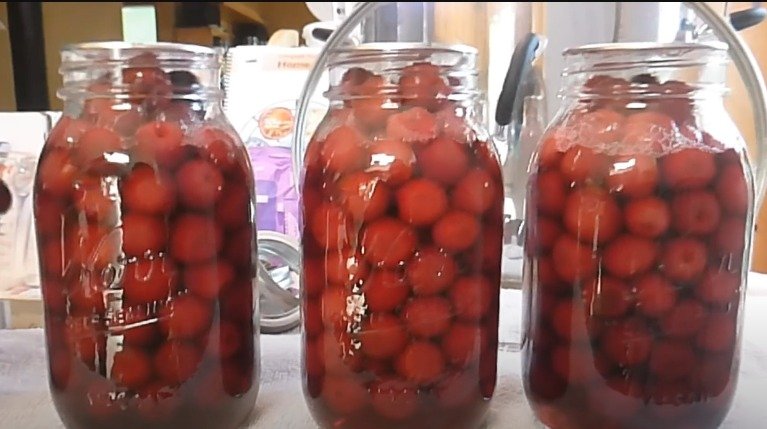
Pack the Jars: Using a canning funnel, fill the jars with cherries, packing them down to eliminate air space and allow for more cherries per jar. This also helps reduce the number of jars and lids you’ll need.
Fill the Jars with Syrup: Ladle the warm syrup into the jars over the packed cherries, leaving about a half-inch of headspace. Use a small tool to release any trapped air bubbles by gently bouncing the jars on the counter.
3
Seal the Jars: Wipe the rims of the jars with a wet towel to ensure a clean sealing surface. Place the lids on the jars and screw on the rings until they are hand-tight, allowing air to escape during processing.
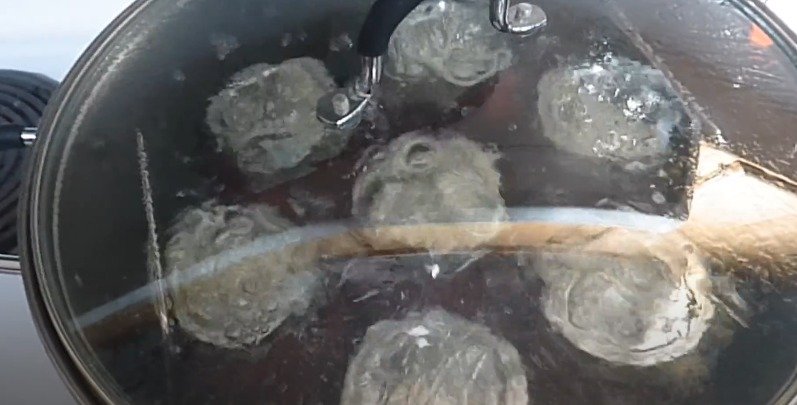
Process the Jars: Place the jars in a water bath canning kettle filled with water. Ensure the water covers the jars by at least an inch. Bring the water to a rolling boil, then reduce to a slow boil. Process the jars for 25 minutes at sea level.
4
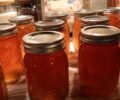
Cool and Seal the Jars: After processing, turn off the heat and let the jars sit in the water for about 20 minutes to cool down gradually. Remove the jars from the water and listen for the lids to pop, indicating a proper seal.
Check the Seals: Once cooled, check the seals by pressing down on the center of the lid. A properly sealed jar will have a concave lid that doesn't move. If any jars didn’t seal, refrigerate them and consume within a few days.
Happy canning!
Ingredients
Directions
1
Canning cherries at home might seem intimidating, but it's actually a fairly simple process once you learn the basics. Today, I’ll guide you through the entire process and introduce you to some simple, affordable tools you'll need. Home-canned fruit always tastes better than store-bought, making this endeavor totally worth it.
2
Essential Supplies for Canning Cherries
Cherries
Sugar
A Home Canning Book: Use the latest USDA source for accurate information. These are available online or through your local Extension Office.
Water Bath Canning Kettle: Comes with a rack and lid.
Canning Jar Lids and Rings
Empty Canning Jars
Measuring Cups
Kettle: Should hold about ten to twelve cups.
Ladle and Canning Funnel: Not essential, but very helpful.
Colander
Steps for Canning Cherries
Prepare the Cherries: Remove the stems and sort through the cherries to discard any rotten or moldy ones. Rinse the cherries well under cool water.
Make the Syrup: Depending on the ripeness of your cherries, you might choose a light or medium syrup. For a medium syrup, mix eight and a quarter cups of water with three and three-quarter cups of sugar in a pot. Heat the mixture on medium-low until the sugar dissolves.
Pack the Jars: Using a canning funnel, fill the jars with cherries, packing them down to eliminate air space and allow for more cherries per jar. This also helps reduce the number of jars and lids you’ll need.
Fill the Jars with Syrup: Ladle the warm syrup into the jars over the packed cherries, leaving about a half-inch of headspace. Use a small tool to release any trapped air bubbles by gently bouncing the jars on the counter.
3
Seal the Jars: Wipe the rims of the jars with a wet towel to ensure a clean sealing surface. Place the lids on the jars and screw on the rings until they are hand-tight, allowing air to escape during processing.
Process the Jars: Place the jars in a water bath canning kettle filled with water. Ensure the water covers the jars by at least an inch. Bring the water to a rolling boil, then reduce to a slow boil. Process the jars for 25 minutes at sea level.
4
Cool and Seal the Jars: After processing, turn off the heat and let the jars sit in the water for about 20 minutes to cool down gradually. Remove the jars from the water and listen for the lids to pop, indicating a proper seal.
Check the Seals: Once cooled, check the seals by pressing down on the center of the lid. A properly sealed jar will have a concave lid that doesn't move. If any jars didn’t seal, refrigerate them and consume within a few days.
Happy canning!
Leave a Review
Please log in or register for a new account in order to leave a review.