Homemade Vegetable Soup Recipe: A Step-by-Step Guide to Pressure Canning

8 cups tomatoes
6 cups potatoes
6 cups carrots
4 cups green beans
4 cups Corn Kernels
2 cups Celery
2 cups Onions
6 cups Chicken Stock
Salt
Black Pepper
1
Good morning! Amanda here with a Happy Homestead. Today, I'm excited to share a delicious and practical recipe with you: homemade vegetable soup,
2
perfect for pressure canning. This recipe is a fantastic way to utilize your garden's bounty, clear out your fridge, and prepare healthy, shelf-stable meals for the winter. Let's dive into the details!

3
Why This Recipe?
Homemade vegetable soup is not only nutritious but also a great way to make use of your garden's produce. This specific recipe is from the Ball Complete Book of Home Preserving, found on page 402. It's designed for pressure canning, which is essential for low-acid recipes to ensure safety and longevity. Don't worry if you don't have a pressure canner; you can still make this soup and freeze it for later use.

4
Ingredients
Here's what you'll need:
Tomatoes: 8 cups, peeled and chopped
Potatoes: 6 cups, peeled and chopped
Carrots: 6 cups, thinly sliced and peeled
Green Beans: 4 cups, chopped (or substitute with lima beans)
Corn Kernels: 4 cups
Celery: 2 cups, sliced
Onions: 2 cups, chopped
Chicken Stock: 6 cups (or water, but chicken stock adds more flavor)
Salt and Black Pepper: To taste
Optional: A pinch of oregano for extra flavor.

5
Preparation Steps
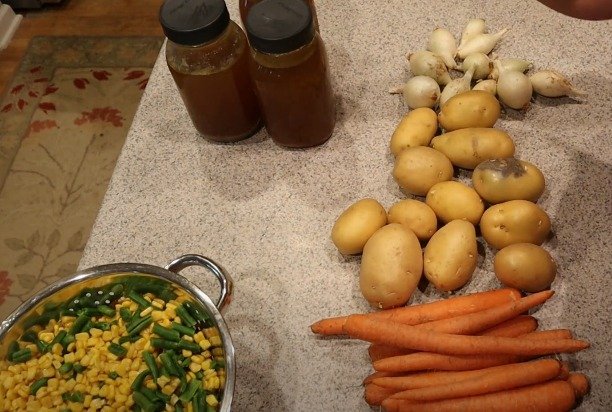
Chop and Peel Vegetables: Begin by peeling and chopping all your vegetables into bite-sized pieces. Remember, larger pieces work better for pressure canning to prevent mushiness.
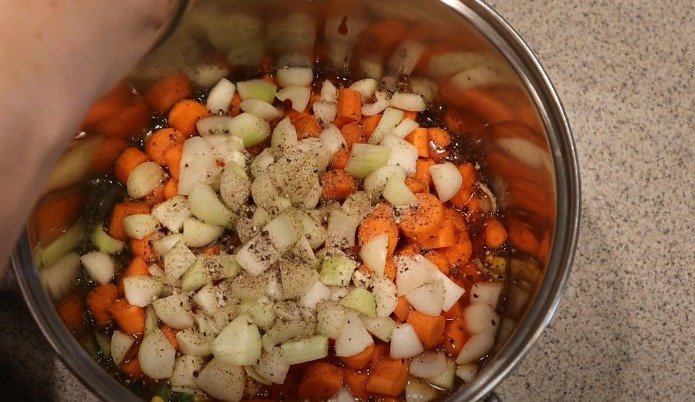
Combine Ingredients: In a large stockpot, combine all the vegetables, chicken stock, salt, pepper, and oregano. Heat the mixture until it's just below boiling.

6
Prepare the Pressure Canner: While your soup is heating, place your quart jars in the pressure canner with some water and heat them up. This helps to prevent thermal shock when you fill them with hot soup.
7
Canning Process
Fill Jars: Once the soup is hot, ladle it into the heated jars, leaving about an inch of headspace. Wipe the rims clean, place the lids on, and screw on the rings until they're fingertip tight.
Load the Canner: Place the jars in the pressure canner. Seal the canner and turn the heat to high. Once steam starts to escape steadily from the vent, let it vent for 10 minutes to expel all the air.
Processing: After venting, place the weighted gauge on the vent pipe. For most locations, use a 10-pound weight. Once the canner reaches the correct pressure (11-12 pounds), maintain this pressure for 90 minutes for quart jars.

8
Cooling Down: After the processing time, turn off the heat and let the pressure canner cool down naturally. This can take about 30-45 minutes. Do not attempt to open the canner until the pressure has completely dropped.
Final Steps
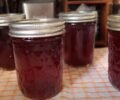
Remove Jars: Carefully remove the jars from the canner and place them on a towel to cool for 24 hours. Do not disturb the jars during this time.
Check Seals: After 24 hours, check the seals by pressing down in the center of each lid. If it doesn't pop up, the jar is sealed. Remove the rings, wash the jars, and label them before storing them in a cool, dark place.

9
Tips for Success
Follow Safety Guidelines: Always follow tested and trusted recipes for pressure canning to ensure safety.
Adjust for Altitude: Ensure you adjust the pressure based on your altitude.
Stay Organized: Prepare all your ingredients and equipment before starting the canning process.
Enjoy Your Homemade Soup
Congratulations! You've just prepared and preserved a batch of delicious homemade vegetable soup. This soup is perfect for a quick, nutritious meal during the winter months. Serve it with a sprinkle of Parmesan cheese and a slice of homemade sourdough bread for a comforting and satisfying meal.
Thanks for joining me on this vegetable soup journey. Stay healthy and happy canning!


Ingredients
8 cups tomatoes
6 cups potatoes
6 cups carrots
4 cups green beans
4 cups Corn Kernels
2 cups Celery
2 cups Onions
6 cups Chicken Stock
Salt
Black Pepper
Directions
1
Good morning! Amanda here with a Happy Homestead. Today, I'm excited to share a delicious and practical recipe with you: homemade vegetable soup,
2
perfect for pressure canning. This recipe is a fantastic way to utilize your garden's bounty, clear out your fridge, and prepare healthy, shelf-stable meals for the winter. Let's dive into the details!
3
Why This Recipe?
Homemade vegetable soup is not only nutritious but also a great way to make use of your garden's produce. This specific recipe is from the Ball Complete Book of Home Preserving, found on page 402. It's designed for pressure canning, which is essential for low-acid recipes to ensure safety and longevity. Don't worry if you don't have a pressure canner; you can still make this soup and freeze it for later use.
4
Ingredients
Here's what you'll need:
Tomatoes: 8 cups, peeled and chopped
Potatoes: 6 cups, peeled and chopped
Carrots: 6 cups, thinly sliced and peeled
Green Beans: 4 cups, chopped (or substitute with lima beans)
Corn Kernels: 4 cups
Celery: 2 cups, sliced
Onions: 2 cups, chopped
Chicken Stock: 6 cups (or water, but chicken stock adds more flavor)
Salt and Black Pepper: To taste
Optional: A pinch of oregano for extra flavor.
5
Preparation Steps
Chop and Peel Vegetables: Begin by peeling and chopping all your vegetables into bite-sized pieces. Remember, larger pieces work better for pressure canning to prevent mushiness.
Combine Ingredients: In a large stockpot, combine all the vegetables, chicken stock, salt, pepper, and oregano. Heat the mixture until it's just below boiling.
6
Prepare the Pressure Canner: While your soup is heating, place your quart jars in the pressure canner with some water and heat them up. This helps to prevent thermal shock when you fill them with hot soup.
7
Canning Process
Fill Jars: Once the soup is hot, ladle it into the heated jars, leaving about an inch of headspace. Wipe the rims clean, place the lids on, and screw on the rings until they're fingertip tight.
Load the Canner: Place the jars in the pressure canner. Seal the canner and turn the heat to high. Once steam starts to escape steadily from the vent, let it vent for 10 minutes to expel all the air.
Processing: After venting, place the weighted gauge on the vent pipe. For most locations, use a 10-pound weight. Once the canner reaches the correct pressure (11-12 pounds), maintain this pressure for 90 minutes for quart jars.
8
Cooling Down: After the processing time, turn off the heat and let the pressure canner cool down naturally. This can take about 30-45 minutes. Do not attempt to open the canner until the pressure has completely dropped.
Final Steps
Remove Jars: Carefully remove the jars from the canner and place them on a towel to cool for 24 hours. Do not disturb the jars during this time.
Check Seals: After 24 hours, check the seals by pressing down in the center of each lid. If it doesn't pop up, the jar is sealed. Remove the rings, wash the jars, and label them before storing them in a cool, dark place.
9
Tips for Success
Follow Safety Guidelines: Always follow tested and trusted recipes for pressure canning to ensure safety.
Adjust for Altitude: Ensure you adjust the pressure based on your altitude.
Stay Organized: Prepare all your ingredients and equipment before starting the canning process.
Enjoy Your Homemade Soup
Congratulations! You've just prepared and preserved a batch of delicious homemade vegetable soup. This soup is perfect for a quick, nutritious meal during the winter months. Serve it with a sprinkle of Parmesan cheese and a slice of homemade sourdough bread for a comforting and satisfying meal.
Thanks for joining me on this vegetable soup journey. Stay healthy and happy canning!
Leave a Review
Please log in or register for a new account in order to leave a review.