Canning The Best Homemade Chicken Soup

1
Have you ever read the ingredients in canned soups, it is just crazy and so unnecessary. Today I will show you how to prepare and preserve your own homemade chicken soup and have peace of mind, it is so convenient to go to your pantry, take a can of chicken soup off the shelf and know that it is healthy, delicious and much cheaper than the store-bought brands.
There are so many ways you can prepare this canned chicken soup, you can serve it with potatoes, pasta noodles, rice or beans thicken, he broth with a little flour or cornstarch season and serve over biscuits, toast or even pop it in a meat pie.
2
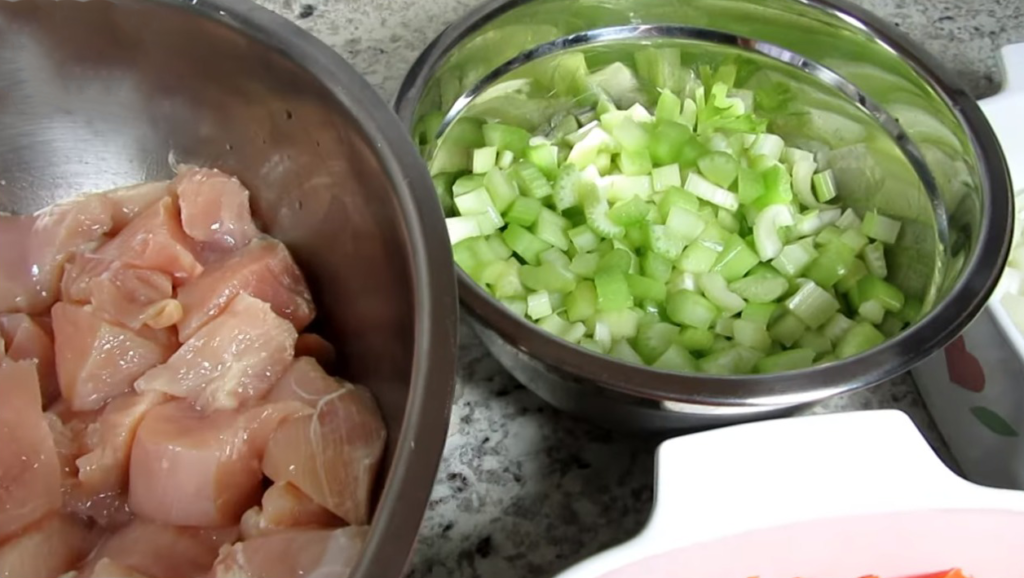
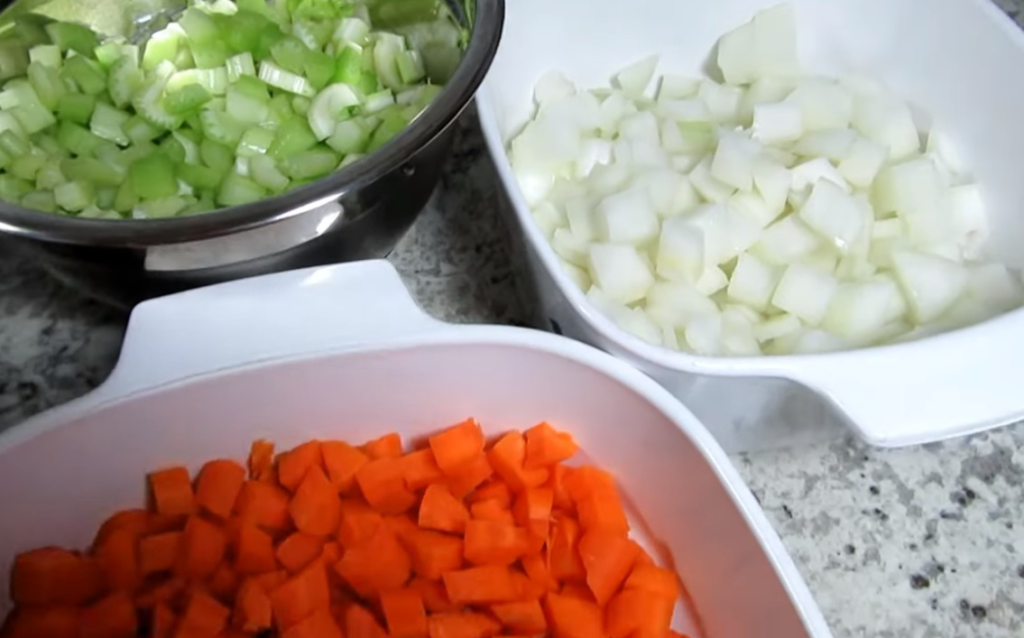
So let's get started I have some boneless cubed chicken breasts and you can use chicken thighs celery onions carrots peas and some of my homemade chicken broth, you can can this chicken soup in pints or quarts.
3
today I'm using quart jars this is a raw pack and that means everything is cold or at room temperature earlier I washed all my jars lids and rings, I put about two inches of water on the bottom of my canner with a splash of white vinegar to help decrease the sediment on the jars.
4
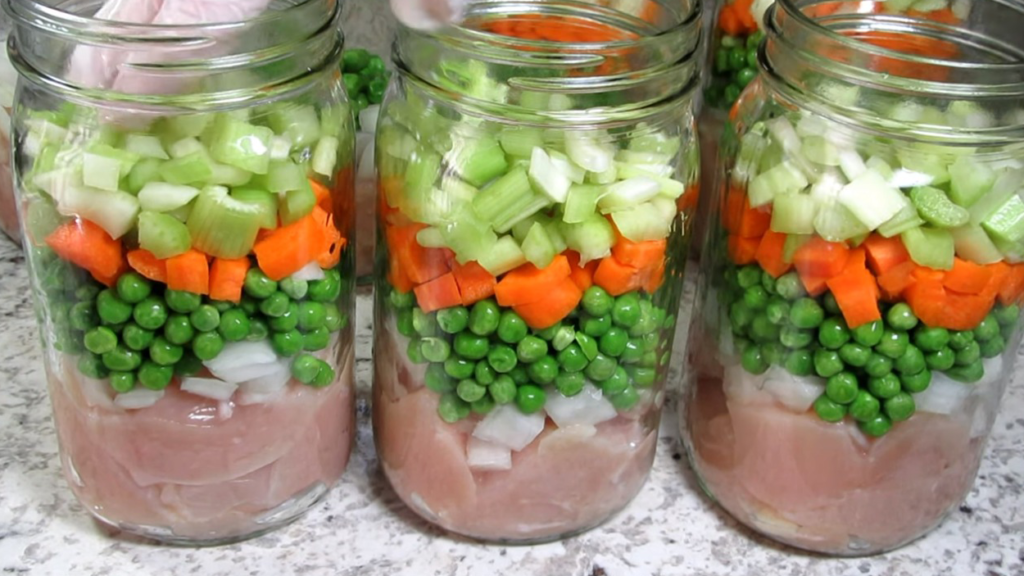
Everything is prepped and ready, now it's time to fill the jars, first I'm putting a good layer of chicken on the bottom about 8 to 10 pieces, giving them a little press to fill in those air gaps, and make room for the rest of the ingredients, next are the onions this is about a quarter of a cup, these are frozen peas that I thought I'm putting in a nice layer of peas because we like peas, a good layer of carrots and finally a layer of celery with the chicken and all the vegetables this is going to make a hearty and yummy chicken soup.
5
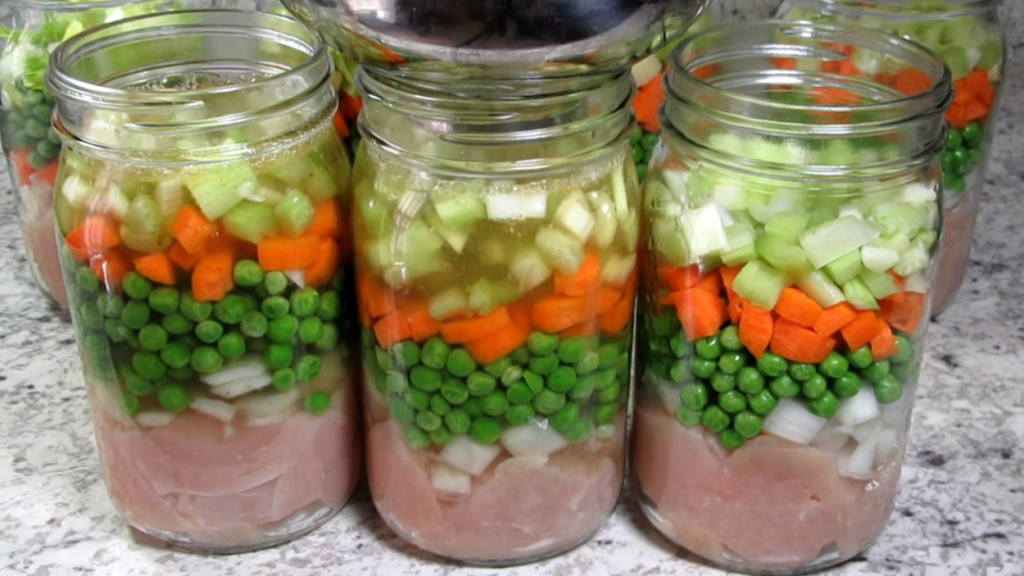
Filling each jar with chicken broth, I'm using my homemade chicken broth but you could also use vegetable broth or water, filling it to a one-inch headspace, at this time you could also add any dried herbs that you like, I choose not to add any seasonings at this time, so I have the option to add what I like when I'm cooking, I have heard using sage and canning results in a bitter taste, I have not used any sage in canning but I have used poultry seasoning with no issue.
6
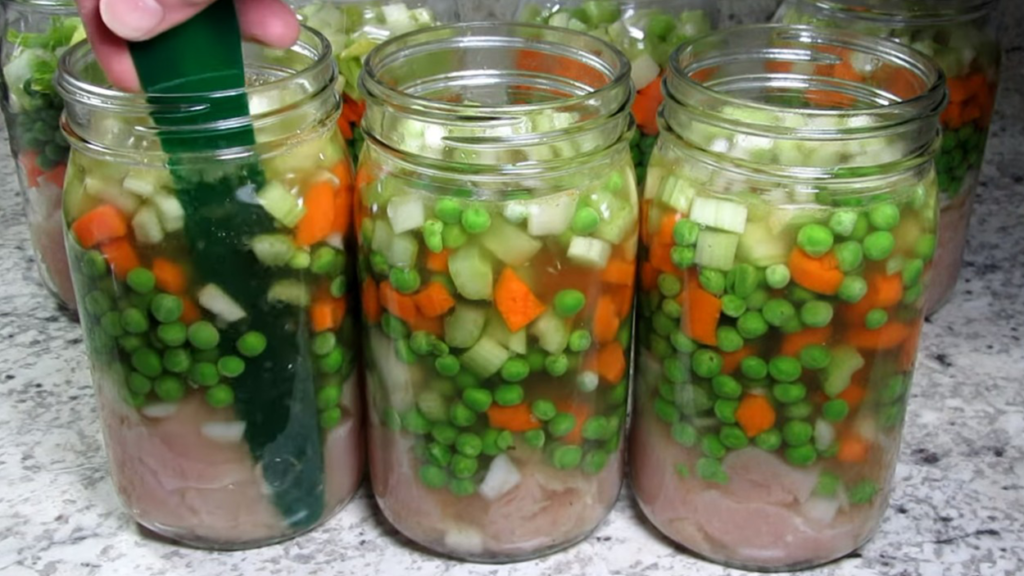
After pouring in the broth, another important step in canning is de-bubbling, I take a plastic knife or chopstick and poke down along the inside jar to release any air bubbles, that are caught on the bottom or in between the food pieces, the whole idea in pressure canning and preserving is to remove all the air in the jar so the lid will seal, if you forget to de-bubble there is more of a chance of the lid not sealing.
7
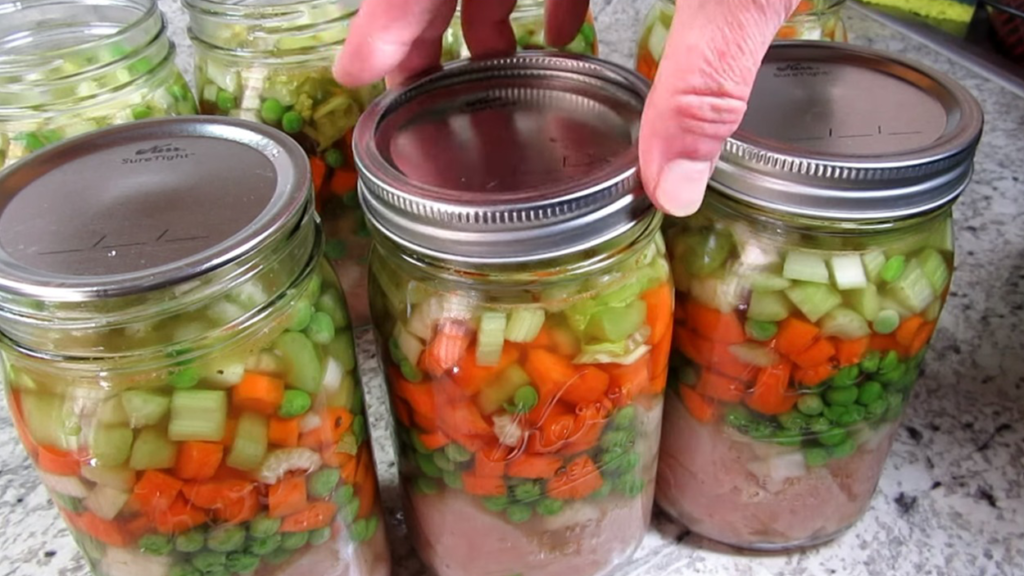
Cleaning each jar rim with a white vinegar towel, placing on my lids and rings finger tight for raw, packing chicken or chicken soup in quart jars. The processing time is 90 minutes at my location, in altitude I use 10 pounds of pressure.

8
you will need to check the usda guidelines for where you are located and the amount of pressure you should use, I'm placing on my canner lid and locking in place, I'm turning my heat on high venting for a full 10 minutes placing on my 10 pound weight gauge bringing up to 10 pounds of pressure, adjusting the heat to the lowest setting while maintaining 10 pounds of pressure and then setting the timer and processing for 90 minutes.
9
On my electric stove that temp is around a four or five and the jiggler dances about four to five times per minute, every stove and location is different, so you will need to observe and adjust accordingly.
After the 90 minutes of processing time turn off the heat and let it rest until the pressure comes completely down to zero, this is going to take about 45 minutes, do not rush this step it is an important part of the canning process.

10
After the gauge register zero, remove the weighted gauge and let the pressure canner set 10 more minutes, before removing the lid.
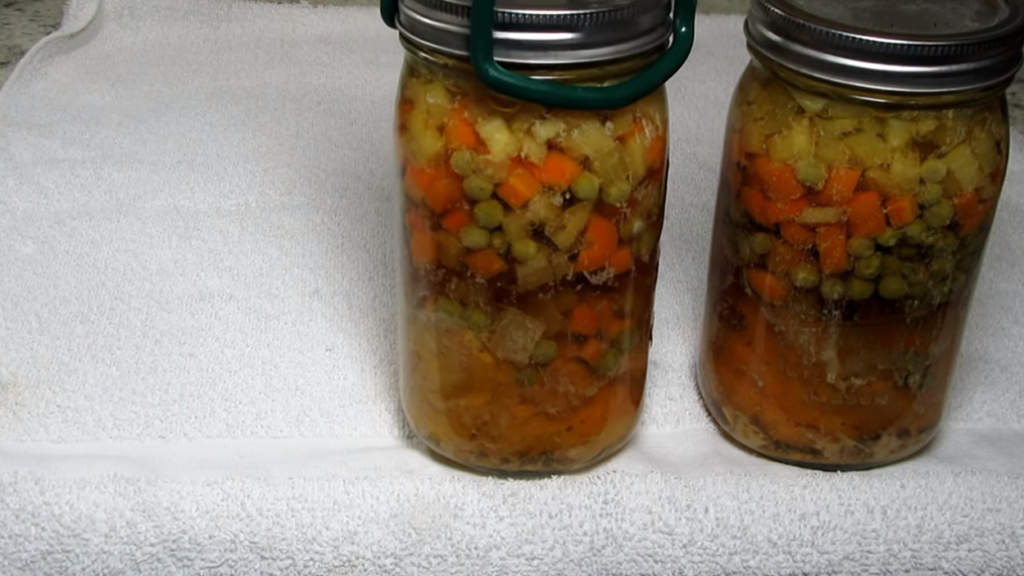
This is the results, look at that delicious and beautiful chicken soup, placing the jars on a towel in a free area, these jars are going to rest for 12 to 24 hours.
After 12 hours I remove the rings and make sure everything is sealed, I let them rest for a full 24 hours, then give them a good wash label and place on the shelf.
11
There is lots of flavor, nutrients, healing, comfort and convenience all packed into one quart jar, I hope this canning recipe has inspired you to do your own home canning and preserving.
It really is a great way to preserve your food and convenient for those busy days and nights and until next time enjoy.

Ingredients
Directions
1
Have you ever read the ingredients in canned soups, it is just crazy and so unnecessary. Today I will show you how to prepare and preserve your own homemade chicken soup and have peace of mind, it is so convenient to go to your pantry, take a can of chicken soup off the shelf and know that it is healthy, delicious and much cheaper than the store-bought brands.
There are so many ways you can prepare this canned chicken soup, you can serve it with potatoes, pasta noodles, rice or beans thicken, he broth with a little flour or cornstarch season and serve over biscuits, toast or even pop it in a meat pie.
2
So let's get started I have some boneless cubed chicken breasts and you can use chicken thighs celery onions carrots peas and some of my homemade chicken broth, you can can this chicken soup in pints or quarts.
3
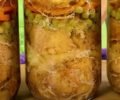
today I'm using quart jars this is a raw pack and that means everything is cold or at room temperature earlier I washed all my jars lids and rings, I put about two inches of water on the bottom of my canner with a splash of white vinegar to help decrease the sediment on the jars.
4
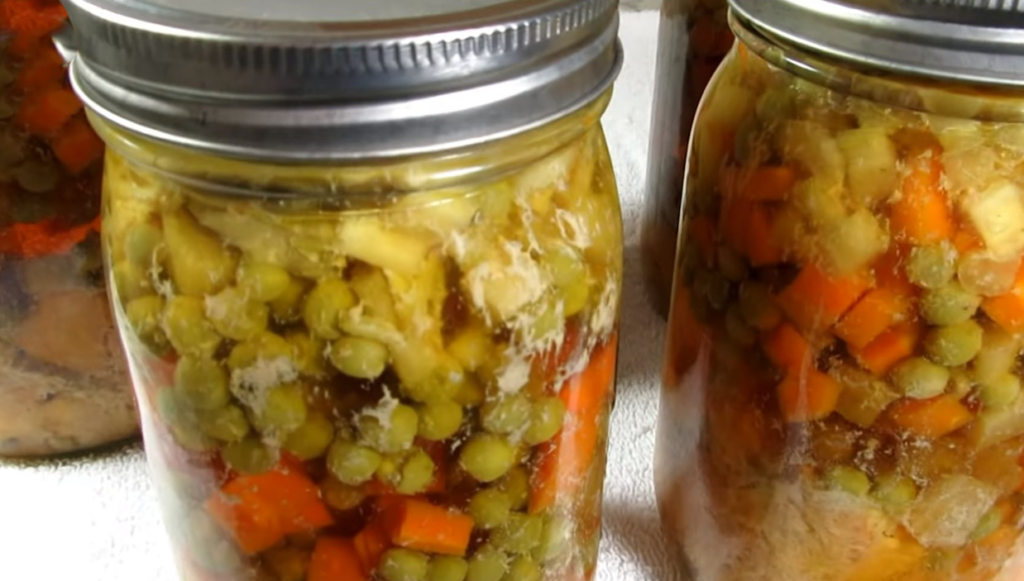
Everything is prepped and ready, now it's time to fill the jars, first I'm putting a good layer of chicken on the bottom about 8 to 10 pieces, giving them a little press to fill in those air gaps, and make room for the rest of the ingredients, next are the onions this is about a quarter of a cup, these are frozen peas that I thought I'm putting in a nice layer of peas because we like peas, a good layer of carrots and finally a layer of celery with the chicken and all the vegetables this is going to make a hearty and yummy chicken soup.
5
Filling each jar with chicken broth, I'm using my homemade chicken broth but you could also use vegetable broth or water, filling it to a one-inch headspace, at this time you could also add any dried herbs that you like, I choose not to add any seasonings at this time, so I have the option to add what I like when I'm cooking, I have heard using sage and canning results in a bitter taste, I have not used any sage in canning but I have used poultry seasoning with no issue.
6
After pouring in the broth, another important step in canning is de-bubbling, I take a plastic knife or chopstick and poke down along the inside jar to release any air bubbles, that are caught on the bottom or in between the food pieces, the whole idea in pressure canning and preserving is to remove all the air in the jar so the lid will seal, if you forget to de-bubble there is more of a chance of the lid not sealing.
7
Cleaning each jar rim with a white vinegar towel, placing on my lids and rings finger tight for raw, packing chicken or chicken soup in quart jars. The processing time is 90 minutes at my location, in altitude I use 10 pounds of pressure.
8
you will need to check the usda guidelines for where you are located and the amount of pressure you should use, I'm placing on my canner lid and locking in place, I'm turning my heat on high venting for a full 10 minutes placing on my 10 pound weight gauge bringing up to 10 pounds of pressure, adjusting the heat to the lowest setting while maintaining 10 pounds of pressure and then setting the timer and processing for 90 minutes.
9
On my electric stove that temp is around a four or five and the jiggler dances about four to five times per minute, every stove and location is different, so you will need to observe and adjust accordingly.
After the 90 minutes of processing time turn off the heat and let it rest until the pressure comes completely down to zero, this is going to take about 45 minutes, do not rush this step it is an important part of the canning process.
10
After the gauge register zero, remove the weighted gauge and let the pressure canner set 10 more minutes, before removing the lid.
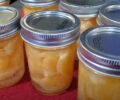
This is the results, look at that delicious and beautiful chicken soup, placing the jars on a towel in a free area, these jars are going to rest for 12 to 24 hours.
After 12 hours I remove the rings and make sure everything is sealed, I let them rest for a full 24 hours, then give them a good wash label and place on the shelf.
11
There is lots of flavor, nutrients, healing, comfort and convenience all packed into one quart jar, I hope this canning recipe has inspired you to do your own home canning and preserving.
It really is a great way to preserve your food and convenient for those busy days and nights and until next time enjoy.
Leave a Review
Please log in or register for a new account in order to leave a review.