A Comprehensive Guide to Canning Black Olives from a Number 10 Can

1
Welcome back to Derrieres! Today, we’re diving into a simple yet cost-effective method of canning black olives from a number 10 can. This straightforward process not only saves money but also ensures you have preserved olives ready for any culinary adventure. Let’s walk through the steps!
Step 1: Preparation
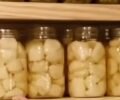
Start by ensuring all your jars are clean and sanitized. This is crucial to avoid contamination and ensure the longevity of your preserved olives. You’ll need your sliced olives ready and enough jars to accommodate the quantity from the number 10 can.
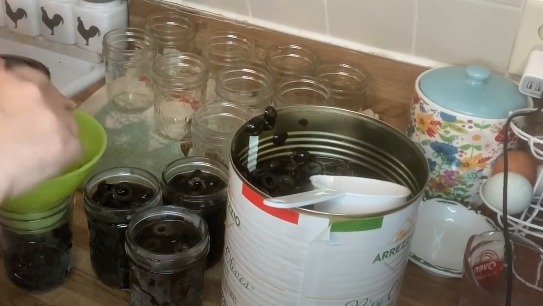
Step 2: Filling the Jars
Fill each jar with sliced olives, leaving about an inch of headspace at the top. Make sure to press the olives down firmly to eliminate air pockets, and continue this process until all jars are filled. It’s important to ensure that your jars and utensils are sanitized during this process to maintain hygiene.
2
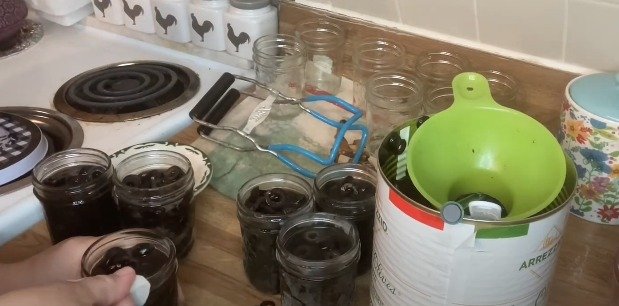
Step 3: Debubbling
After filling the jars, debubble them using a debubbling tool or a non-metallic utensil. Insert the tool into the jar and move it around to release any trapped air bubbles. This step is essential for preventing spoilage.
Step 4: Adding Brine
Pour the brine from the number 10 can into each jar, ensuring it reaches the one-inch headspace mark. If the brine level is too high, remove some to maintain the correct headspace. This helps in creating a proper seal during the canning process.
Step 5: Cleaning the Jar Rims
Clean the rims of the jars thoroughly with vinegar. Black olives are oily, and this oil can interfere with the sealing process. Wipe the rims until they are free of any oil residue to ensure a good seal.
3
Step 6: Sealing the Jars
Place the lids on the jars. While traditional green Ball lids are commonly used, today we’re trying out the Golden Harvest lids. Secure the lids with bands, ensuring they are finger-tight.
Step 7: Processing the Jars
Place the jars in a large pot filled with hot water. While a pressure canner is not necessary, make sure the pot you use can accommodate all the jars without them touching each other. Bring the water to a boil, then reduce the heat and let the jars process for about 10 minutes.
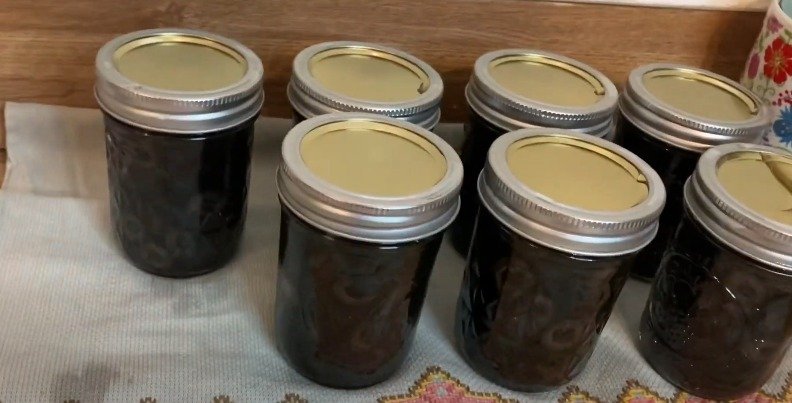
Step 8: Cooling and Storing
After processing, carefully remove the jars and place them on a towel to cool. You should hear a popping sound, indicating that the jars are sealing properly. Once cooled, check the seals by pressing down on the center of each lid. If it doesn’t pop back, the jar is sealed. Store any unsealed jars in the refrigerator and use them first.

4
Final Thoughts
Canning olives from a number 10 can is an economical way to enjoy preserved olives all year round. Ensure your jars are free from cracks and chips before starting, and always prioritize cleanliness throughout the process. With these steps, you can easily can olives at home and enjoy the benefits of home preservation.
We hope you found this guide helpful!
Happy canning
Ingredients
Directions
1
Welcome back to Derrieres! Today, we’re diving into a simple yet cost-effective method of canning black olives from a number 10 can. This straightforward process not only saves money but also ensures you have preserved olives ready for any culinary adventure. Let’s walk through the steps!
Step 1: Preparation
Start by ensuring all your jars are clean and sanitized. This is crucial to avoid contamination and ensure the longevity of your preserved olives. You’ll need your sliced olives ready and enough jars to accommodate the quantity from the number 10 can.
Step 2: Filling the Jars
Fill each jar with sliced olives, leaving about an inch of headspace at the top. Make sure to press the olives down firmly to eliminate air pockets, and continue this process until all jars are filled. It’s important to ensure that your jars and utensils are sanitized during this process to maintain hygiene.
2
Step 3: Debubbling
After filling the jars, debubble them using a debubbling tool or a non-metallic utensil. Insert the tool into the jar and move it around to release any trapped air bubbles. This step is essential for preventing spoilage.
Step 4: Adding Brine
Pour the brine from the number 10 can into each jar, ensuring it reaches the one-inch headspace mark. If the brine level is too high, remove some to maintain the correct headspace. This helps in creating a proper seal during the canning process.
Step 5: Cleaning the Jar Rims
Clean the rims of the jars thoroughly with vinegar. Black olives are oily, and this oil can interfere with the sealing process. Wipe the rims until they are free of any oil residue to ensure a good seal.
3
Step 6: Sealing the Jars
Place the lids on the jars. While traditional green Ball lids are commonly used, today we’re trying out the Golden Harvest lids. Secure the lids with bands, ensuring they are finger-tight.
Step 7: Processing the Jars
Place the jars in a large pot filled with hot water. While a pressure canner is not necessary, make sure the pot you use can accommodate all the jars without them touching each other. Bring the water to a boil, then reduce the heat and let the jars process for about 10 minutes.
Step 8: Cooling and Storing
After processing, carefully remove the jars and place them on a towel to cool. You should hear a popping sound, indicating that the jars are sealing properly. Once cooled, check the seals by pressing down on the center of each lid. If it doesn’t pop back, the jar is sealed. Store any unsealed jars in the refrigerator and use them first.
4
Final Thoughts
Canning olives from a number 10 can is an economical way to enjoy preserved olives all year round. Ensure your jars are free from cracks and chips before starting, and always prioritize cleanliness throughout the process. With these steps, you can easily can olives at home and enjoy the benefits of home preservation.
We hope you found this guide helpful!
Happy canning
Leave a Review
Please log in or register for a new account in order to leave a review.