Step-by-Step Guide to Canning Corn: Enjoy Fresh Corn Year-Round

1
Welcome back, everyone! Today, we're diving into the process of canning corn. This guide will walk you through each step, ensuring you preserve that fresh, sweet taste of summer corn to enjoy all year long.
2
Step 1: Preparing the Corn
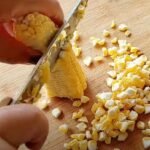
The first and most tedious part of the process is cutting the corn off the cob. While some might suggest using an apple corer, this method often digs too deep, including unwanted husk. Instead, use a knife for better precision.
Cutting the Corn
Tools: Knife, cutting board
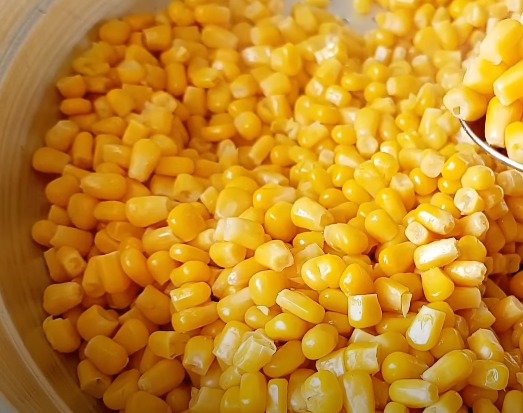
Method: Hold the corn with your palm and thumb to guide the knife. Cut down the cob, finding a rhythm as you go. You might hear a satisfying crunch as you slice through the kernels.
Step 2: Prepping the Jars
Once the corn is cut, it's time to prepare your jars.

3
Washing the Jars
Types of Jars: Wide-mouth and regular-mouth jars
Preference: Many prefer wide-mouth jars as they are easier to fill and empty.
Filling the Jars
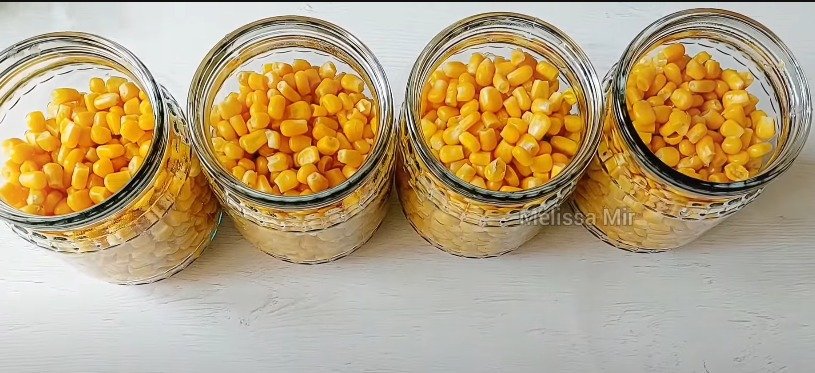
Method: Use a spoon or your hands to fill the jars, leaving about an inch of space at the top. If you overfill, simply scoop out the excess.
Step 3: Adding Salt and Water
Adding Salt
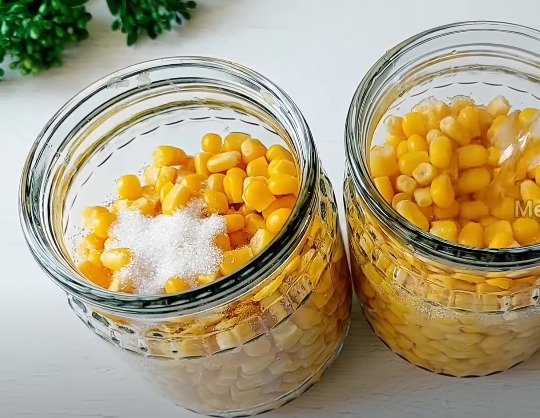
Salt Type: Always use kosher salt, never iodized salt.
Quantity: Add one teaspoon of kosher salt to each jar.
Boiling Water
Preparation: Boil water on the stove and pour it into the jars, covering the corn but leaving an inch of headspace.
De-bubbling the Jars
Tools: Use a non-metal tool, such as a plastic knife or chopsticks, to remove air bubbles from the jars. Run the tool along the sides to release trapped air, then top off with more boiling water if needed.
Step 4: Sealing the Jars
Cleaning the Rims

4
Method: Wipe the rims with a paper towel dipped in vinegar to ensure they are clean and free of starch, which helps achieve a good seal.
Adding Lids and Rings
Process: Place the lids on the jars and screw the rings on finger-tight.
Step 5: Canning Process
Preparing the Canner
5
Water Level: Ensure the water level in the canner is correct, just touching the bottom rack.
Placing the Jars in the Canner
Arrangement: Place the jars in the canner, ensuring they are evenly distributed.
Heating
Heat Setting: Turn up the heat and wait for steam to come out of the vents.
Pressure Setting: In most areas, maintain around 11 pounds of pressure for 40 minutes. Adjust according to your altitude.
Step 6: Cooling and Storing
Cooling Down
Method: After the timer goes off, turn off the heat and let the pressure drop naturally for about 30 minutes.
Removing the Jars
Safety: Open the canner lid slowly, away from your face to avoid steam burns. Remove the jars and let them cool on a towel.
Checking the Seals
6
Final Step: As the jars cool, listen for the popping sound indicating they are sealing properly. Check each jar to ensure the lids are sealed tight.
Enjoy Your Canned Corn
And there you have it! With these steps, you can enjoy the fresh taste of corn all year round. Canning might seem like a lot of work, but the reward of having delicious, home-preserved corn is well worth the effort.
happy canning
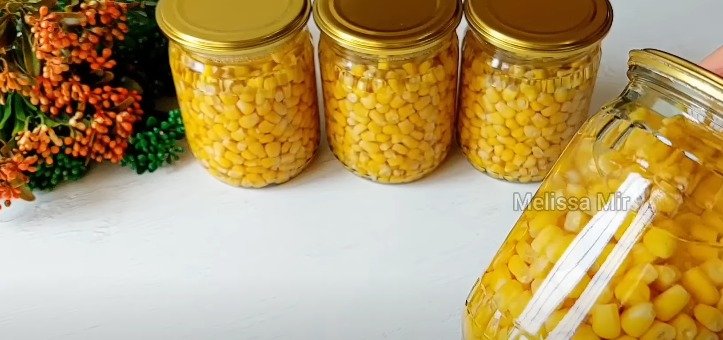
Ingredients
Directions
1
Welcome back, everyone! Today, we're diving into the process of canning corn. This guide will walk you through each step, ensuring you preserve that fresh, sweet taste of summer corn to enjoy all year long.

2
Step 1: Preparing the Corn
The first and most tedious part of the process is cutting the corn off the cob. While some might suggest using an apple corer, this method often digs too deep, including unwanted husk. Instead, use a knife for better precision.
Cutting the Corn
Tools: Knife, cutting board
Method: Hold the corn with your palm and thumb to guide the knife. Cut down the cob, finding a rhythm as you go. You might hear a satisfying crunch as you slice through the kernels.
Step 2: Prepping the Jars
Once the corn is cut, it's time to prepare your jars.

3
Washing the Jars
Types of Jars: Wide-mouth and regular-mouth jars
Preference: Many prefer wide-mouth jars as they are easier to fill and empty.
Filling the Jars
Method: Use a spoon or your hands to fill the jars, leaving about an inch of space at the top. If you overfill, simply scoop out the excess.
Step 3: Adding Salt and Water
Adding Salt
Salt Type: Always use kosher salt, never iodized salt.
Quantity: Add one teaspoon of kosher salt to each jar.
Boiling Water
Preparation: Boil water on the stove and pour it into the jars, covering the corn but leaving an inch of headspace.
De-bubbling the Jars
Tools: Use a non-metal tool, such as a plastic knife or chopsticks, to remove air bubbles from the jars. Run the tool along the sides to release trapped air, then top off with more boiling water if needed.
Step 4: Sealing the Jars
Cleaning the Rims

4
Method: Wipe the rims with a paper towel dipped in vinegar to ensure they are clean and free of starch, which helps achieve a good seal.
Adding Lids and Rings
Process: Place the lids on the jars and screw the rings on finger-tight.
Step 5: Canning Process
Preparing the Canner

5
Water Level: Ensure the water level in the canner is correct, just touching the bottom rack.
Placing the Jars in the Canner
Arrangement: Place the jars in the canner, ensuring they are evenly distributed.
Heating
Heat Setting: Turn up the heat and wait for steam to come out of the vents.
Pressure Setting: In most areas, maintain around 11 pounds of pressure for 40 minutes. Adjust according to your altitude.
Step 6: Cooling and Storing
Cooling Down
Method: After the timer goes off, turn off the heat and let the pressure drop naturally for about 30 minutes.
Removing the Jars
Safety: Open the canner lid slowly, away from your face to avoid steam burns. Remove the jars and let them cool on a towel.
Checking the Seals

6
Final Step: As the jars cool, listen for the popping sound indicating they are sealing properly. Check each jar to ensure the lids are sealed tight.
Enjoy Your Canned Corn
And there you have it! With these steps, you can enjoy the fresh taste of corn all year round. Canning might seem like a lot of work, but the reward of having delicious, home-preserved corn is well worth the effort.
happy canning

Leave a Review
Please log in or register for a new account in order to leave a review.

